
Reviewed · SILVER JEWELRY CLASSES
Bali Canggu Silver Jewelry Making Experience
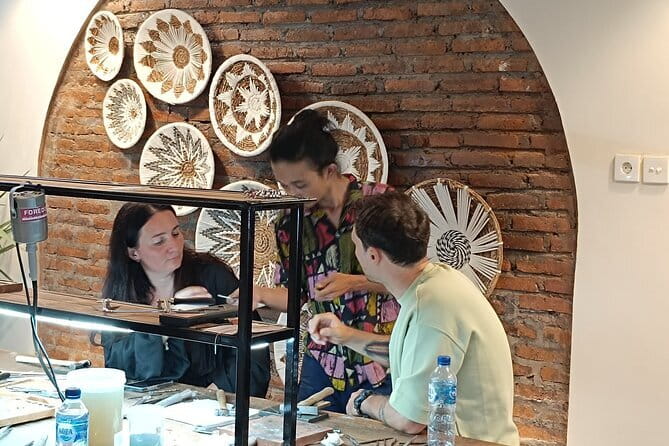
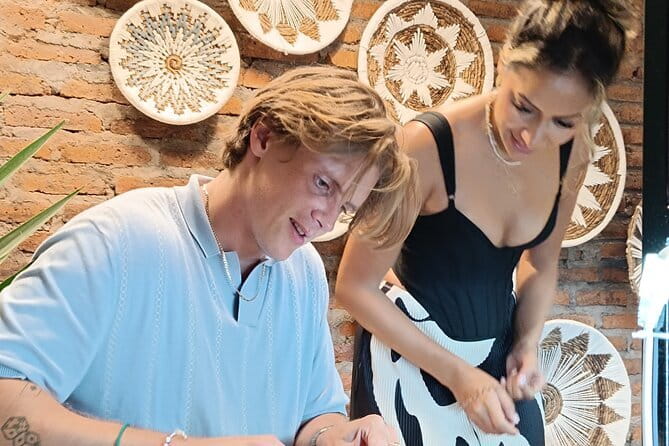
This Bali Canggu silver jewelry making class is interesting because it is hands-on and personal, with a workshop capped at just 15 people, not a big production line. You work directly with a local silversmith to create a silver jewelry souvenir you can actually wear later.
I like two things a lot. First, the hands-on guidance from the silversmith through each stage of making. Second, you work with a clear, manageable amount of metal, 1 to 6 grams of silver per design, so you are not guessing or overspending.
One consideration before you go: the studio is not wheelchair accessible, and there are stairs, which can make the physical part challenging.
Key points before you book
- 15-person cap keeps the class personal and easier to ask questions
- Complimentary bottled water and free Wi-Fi help you settle in before you start
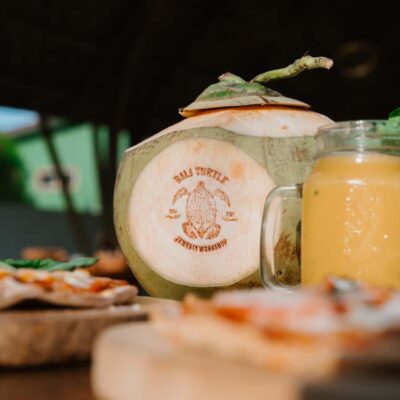
- Welcome drink in the waiting room makes check-in feel relaxed
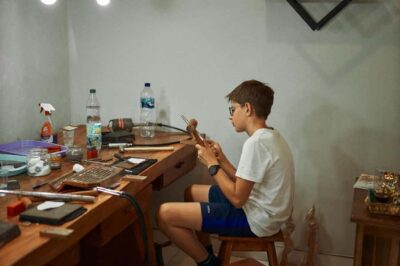
- You make your own piece using grinding wheels, saws, files, plus stamping and hammering
- Optional gold plating is available if you want a higher-contrast finish
Why This Canggu Silver Workshop Feels More Personal Than a Souvenir Stop
If you want Bali, but not the usual buy-a-trinket routine, this is a strong choice. The format is simple: you show up, learn the process from a working silversmith, and leave with a piece of jewelry made by your own hands. That difference matters because it turns your time into a skill, not just a purchase.
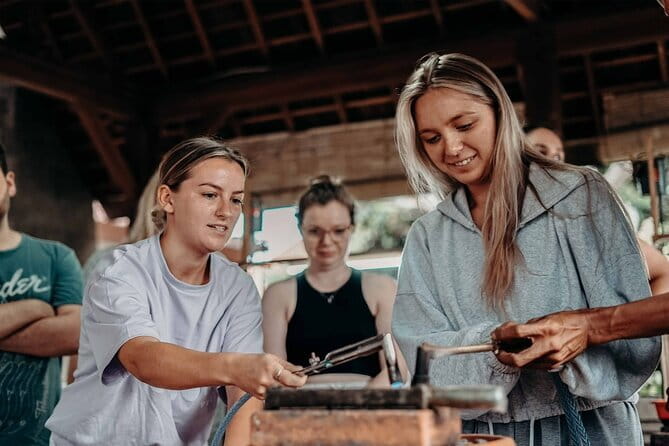
The group size is capped at 15, which I love for workshops. Smaller groups usually mean you are not stuck watching from the back while someone else gets all the attention. It also keeps the pace realistic for a 2-hour class.
You do not need to be an expert. Most people can participate, and the structure is built around guided steps, from initial concept through polishing. That is the heart of the experience: the craft is the attraction.
More Silver Jewelry Classes in Seminyak:
- Silver Jewelry Making Class and Ubud Tour with All Inclusive
★ 5.0 · 28 reviews - Bali: Silver Jewelry Making Class in Seminyak
★ 5.0 · 15 reviews - Hands-On Silver Jewelry Making Near Ubud’s Monkey Forest
★ 4.9 · 1,789 reviews
Price and Value: What $46.43 Really Buys You
At $46.43 per person, the price might sound like a lot if you compare it to a mass-produced necklace. But you are not paying only for the final item. You are paying for instruction, studio time, tools, and a specific amount of silver included in the class.
Here is the value logic that works in your favor. First, the class includes 1 to 6 grams of silver for your one jewelry design. That is tangible material cost, not just a demonstration. Second, you are given a direct path through the steps, including the finishing stages like polishing, so your result has a better chance of looking clean and intentional rather than unfinished.
You can also add gold plating as an upgrade for an additional charge. If your goal is a more jewelry-store look, this option can be worth considering, because it is a controlled finish added to something you made.
Also worth noting: this class gets booked fairly far ahead on average, about 13 days in advance. If your schedule is tight, you will save yourself stress by locking in your spot early.
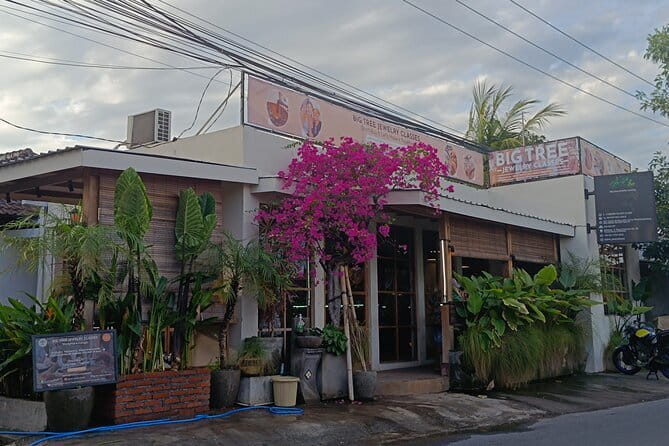
Getting There in Canggu (Listed Near Seminyak): Big Tree Jewelry Classes
The workshop is associated with the Seminyak area, but the meeting point is in Canggu, at Big Tree Jewelry Classes, Jl. Raya Padonan no.57 Tibubeneng, Canggu, Kec. Kuta Utara, Kabupaten Badung, Bali 80361, Indonesia. That matters because you will want to plan your ride time based on Canggu, not assume it is right next to Seminyak.
The location is listed as near public transportation, which is useful if you want to avoid relying on private door-to-door service. Private transportation is not included, so you will need to arrange your own way there.
The activity ends back at the meeting point, so you are not hunting for an end-of-tour taxi pickup somewhere else. For a short class, that simplicity is underrated.
Arrival, Check-In, and the Waiting-Room Setup
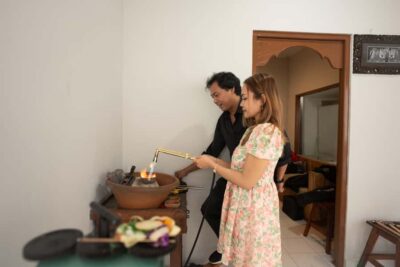
When you arrive, you check in at the studio. Before the workshop begins, you can relax in a waiting room with a complimentary welcome drink. It is a small thing, but it sets the tone. You arrive, get oriented, and then you jump into the making part without feeling rushed.
You also get free Wi-Fi. That is handy for practical stuff like confirming plans with your group or sending a quick message, especially because this is a short, timed experience.
And yes, you are also covered with bottled water during the session. In Bali heat, that kind of basic comfort matters more than you think. You should not have to spend your time hunting for water once class starts.
Something different for the next Seminyak day:
- Bali Full-Day Traditional Village Sightseeing Trip All Inclusive
★ 5.0 · 3,069 reviews - Experts Bali Driver : Best Bali Private Driver for Tour in Bali
★ 5.0 · 1,339 reviews - Bali Hai Sunset Dinner Cruise
★ 5.0 · 1,173 reviews - Mount Batur Sunrise Trekking
★ 5.0 · 947 reviews
The 2-Hour Workshop Flow: What Happens After You Start
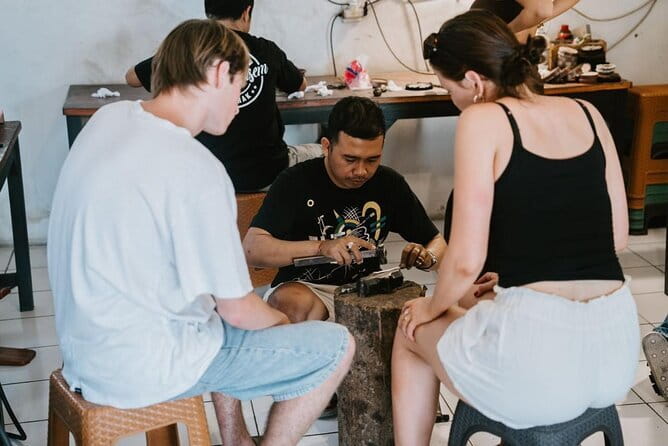
This experience is about 2 hours (approx.), which is a sweet spot for a craft class. It is long enough to learn steps and finish, but short enough that you can still stack it with other plans in your day.
The session follows a logical making sequence:
- You arrive, check in, and settle with the welcome drink.
- The workshop begins with instructions from a local silversmith.
- You create your own jewelry design using included silver.
- You learn the steps needed to go from concept to final polishing.
- You finish and take your creation home.
That “concept to polishing” detail is important. Many activities stop at the fun part, like shaping or stamping. Here, the process explicitly includes finishing. That gives you a better chance of leaving with something that looks complete, not merely formed.
Tools and Techniques You Use (Grinding to Polishing)
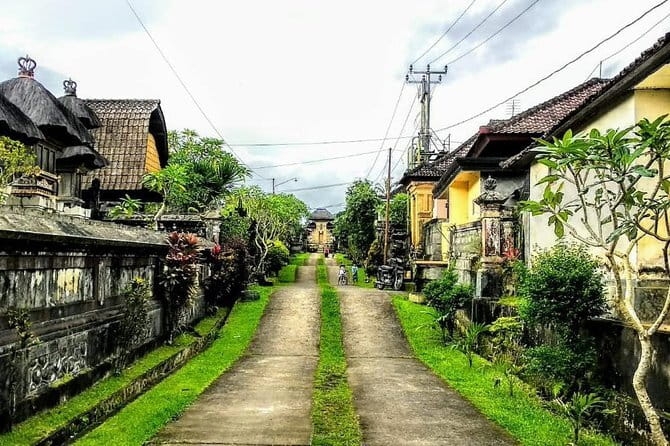
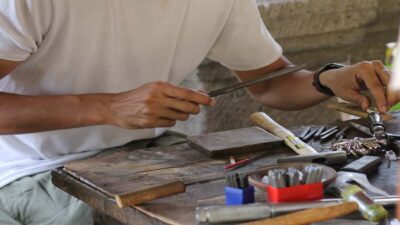
One reason people like craft workshops is that you get to handle real tools and see what the process feels like. This class includes the key tools and techniques you would expect in a small silversmith studio.
You will use equipment such as:
- Grinding wheels
- Jeweler’s saws
- Files
- Tools needed to make your piece
- Techniques including stamping and hammering
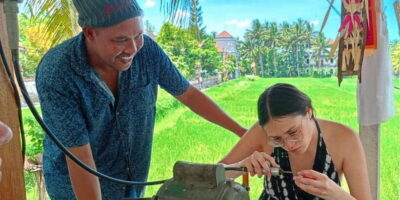
You are guided through the process, so you are not on your own figuring out how to operate everything safely. The instructor shows how the steps connect, which is what helps your piece look more intentional.
I also think stamping and hammering are a smart inclusion for a beginner-friendly class. Those methods give you visible design impact without needing years of training. If you have ever watched metalwork and thought, I want to try that, this is one of those classes where you can.
Then comes the finishing stage: polishing. Polishing is where rough work becomes jewelry work. Even if you are brand new, polishing is a skill you can learn in a short time, and it is the difference between something that looks handmade and something that looks unfinished.
The Included Silver: Why the 1 to 6 Grams Range Matters
The class specifies 1 to 6 grams of silver for one jewelry design. That is practical because it sets expectations for size and thickness.
If you are imagining a huge, heavy statement piece, this might not be the right match. A limited silver amount usually means a smaller design, and you may need to keep your idea focused. The trade-off is that you are much more likely to complete your piece within the class time and leave with a finished souvenir.
Also, because you are starting with a defined amount of silver, you are not left worrying about material costs during the workshop. That kind of transparency helps your overall budget stay predictable.
Optional Gold Plating: When It’s Worth the Extra
Gold plating is available as an upgrade with an additional charge. The reason this can be a smart add-on is simple: it changes the look fast.
If you want the finished item to feel more like jewelry you might buy in a store, plating can add contrast and visual warmth to silver. It also gives you an option if you are making a piece intended as a gift, or something you want to photograph and wear often.
I would treat gold plating as a personal style decision. If you love the classic silver look, you can skip it. If you want a more polished, dressy finish, it is there.
What You Take Home (And Why People Care About Wearability)
The goal is clear: you leave with a handmade souvenir from the silversmithing workshop. That alone is better than most activities that end with a photo and a memory.
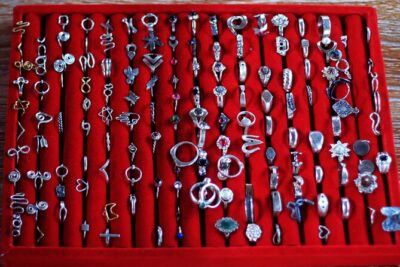
From the vibe of the experience, the standout theme is wearability. People tend to walk away with jewelry that looks good enough to put on later, not just a craft project sitting in a box. A well-finished piece, especially after polishing, is the difference between a souvenir and something you actually use.
You also get the satisfaction of knowing exactly how it was made. That makes it more than a purchase. It becomes a story you can tell, because you were there for the whole process.
And if you like customization, this is a good fit. You are creating your own jewelry design, so the piece carries your choices, not just the workshop’s standard pattern.
Comfort, Stairs, and Who This Workshop Is Best For
This studio is not wheelchair accessible and includes stairs, which makes the physical part challenging. Even if you do not use a wheelchair, consider your comfort level if stairs are a regular issue for you.
The good news is that most people can participate. The workshop is designed as a short, guided class, with staff and a silversmith leading you through tools and techniques. The experience is intimate, with a small group size and hands-on help.
This is also a great choice for couples and friends who want a shared activity that feels meaningful. It gives you something to do together and then compare your finished pieces.
If you are traveling solo and want a social setting without a crowded tour bus, the small group setup is ideal. You can talk, ask questions, and focus on your own piece at a comfortable pace.
Logistics You Should Know Before You Go
A few practical notes help you plan smoothly:
- You get a mobile ticket.
- You will receive confirmation at time of booking.
- There is free Wi-Fi and bottled water included.
- Meals and private transportation are not included, so plan your timing and eating around a 2-hour slot.
- The class has a maximum of 15 travelers, so you are not competing for attention.
On cancellation, it is free cancellation up to 24 hours in advance for a full refund. That flexibility is useful if your Bali schedule changes because of traffic or weather.
If you can, book early since it often sells out ahead of time. With craft classes, last-minute changes can be annoying because you cannot easily swap to another exact slot.
Should You Book This Bali Canggu Silver Jewelry Making Experience?
Book this if you want a hands-on Bali activity that ends with something you can wear, not just a one-time photo moment. The small-group size, guided steps through concept to polishing, and included silver materials make it feel like real value, not a gimmick.
Skip it or think twice if stairs and mobility are an issue for you, since the studio is not wheelchair accessible and the stairs make the activity challenging. Also reconsider if you want a very large or highly complex design, because the included silver amount is limited and the class is only about 2 hours.
If you love craft, want a souvenir with meaning, or want a couple activity that creates a shared story, this is one of the more practical and satisfying things you can do around Canggu.
FAQ
Where is the meeting point for the Bali Canggu silver jewelry class?
You meet at Big Tree Jewelry Classes, Jl. Raya Padonan no.57 Tibubeneng, Canggu, Kec. Kuta Utara, Kabupaten Badung, Bali 80361, Indonesia.
How long does the jewelry making experience last?
The duration is approximately 2 hours.
How many people are in the workshop?
The workshop is capped at a maximum of 15 travelers.
How much silver do I get to use for my jewelry design?
You get 1 to 6 grams of silver for one jewelry design.
Is optional gold plating available, and does it cost extra?
Yes. You can upgrade to add optional gold plating for an additional charge.
What’s included in the experience price?
It includes bottled water, the silversmith instructor, 1 to 6 grams of silver for your jewelry design, and free Wi-Fi.
Is private transportation or meals included?
No. Private transportation and meals are not included.
Is the workshop wheelchair accessible?
No. The place is not wheelchair accessible, and the stairs make the physical activity challenging.
Newest reviews out of Seminyak
- Private Sekumpul Waterfalls Trekking Tour★ 5.0 · 12 reviews
- Goa Gajah / Elephant Cave Temple And Ubud Tour – All Inclusive★ 5.0 · 12 reviews
- Ubud Full Day – Monkey Forest, Rice Terrace and Waterfalls Tour★ 5.0 · 12 reviews
- Private Transport With Experts Local Balinese Driver★ 5.0 · 12 reviews
- Bali Day Trip to Ubud Highlight Tour and Tanah Lot Temple★ 5.0 · 12 reviews
- West Nusa Penida With Snorkeling Private Guided Tour★ 4.0 · 12 reviews
- All Inclusive Private Uluwatu Tour with Kecak Dance and Dinner★ 5.0 · 12 reviews
- Bali Ngurah Rai International Airport Pickup to Ubud Area★ 5.0 · 12 reviews
Silver Jewelry Classes, compared.
Hands-On Silver Jewelry Making Near Ubud’s Monkey Forest
Read our review →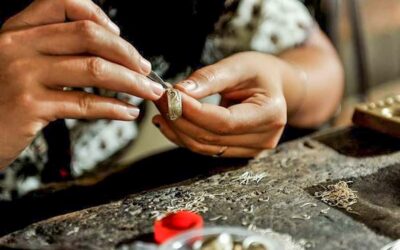

Ubud Silver Artistry Class: Create Unique Jewelry in Bali
Read our review →Browse the lists this tour appears in