
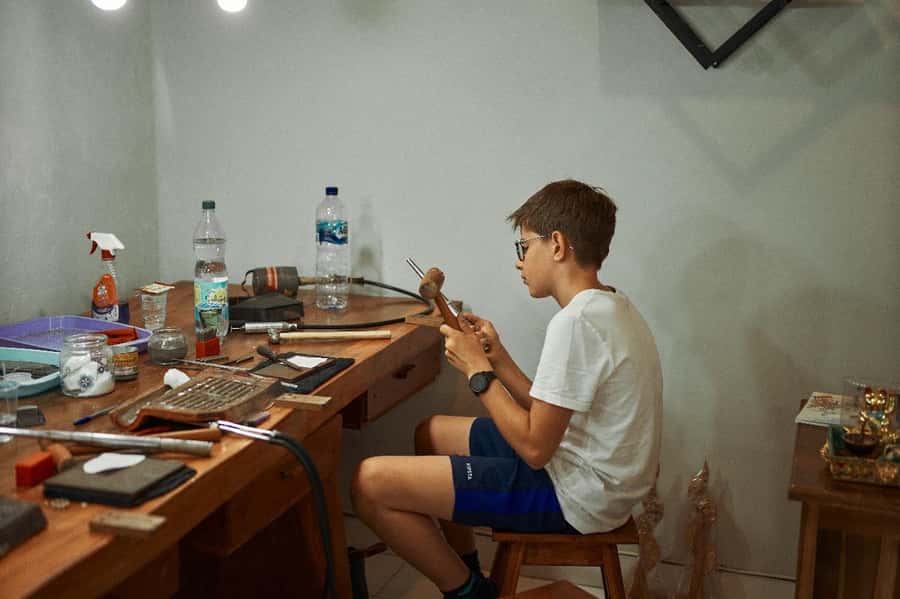
Reviewed · SILVER JEWELRY CLASSES
Bali: Silver Jewelry Making Class in Kuta or Uluwatu
A hands-on Bali silver jewelry workshop is interesting because you start with raw silver and finish with a piece you can actually wear. I love the step-by-step guidance from working silversmiths, and I also like that you get to choose a design instead of copying a preset. The main drawback to consider is the silver weight rules, you get set with charges if you go beyond 5 grams.
You can do it in either Uluwatu or Kuta, so you can match the workshop to your Bali days. I like that instruction is available in English, Indonesian, and Malay, and the setup supports small groups, which means more hands-on time. In the class I kept hearing about friendly, patient instructors like Made and Kusuma, which matters when you’re learning hammering and soldering for the first time.
If you want a souvenir with real craft behind it, this is a solid pick. Just be honest about your design complexity, because the workshop runs about 3 hours and the design has to fit that time window.
Key highlights
- Choose your workshop base: Uluwatu near Garuda Wisnu Kencana and Kecak Dance, or Kuta near Kuta Beach and Beachwalk
- Create your own silver piece: You design, craft, and take home finished jewelry
- Learn the process end-to-end: melting, hammering, rolling or wire forming, shaping, soldering, sanding, and polishing
- Get quality Indonesian silver: included silver is pure Indonesian silver or 925 sterling, typically 3 to 5 grams per person
- Friendly guidance in multiple languages: English, Indonesian, and Malay
- Hands-on results that look professional: lots of visitors love the final rings and matching sets
Silver Jewelry, Not a Factory Souvenir: The Real Value in This 3-Hour Class
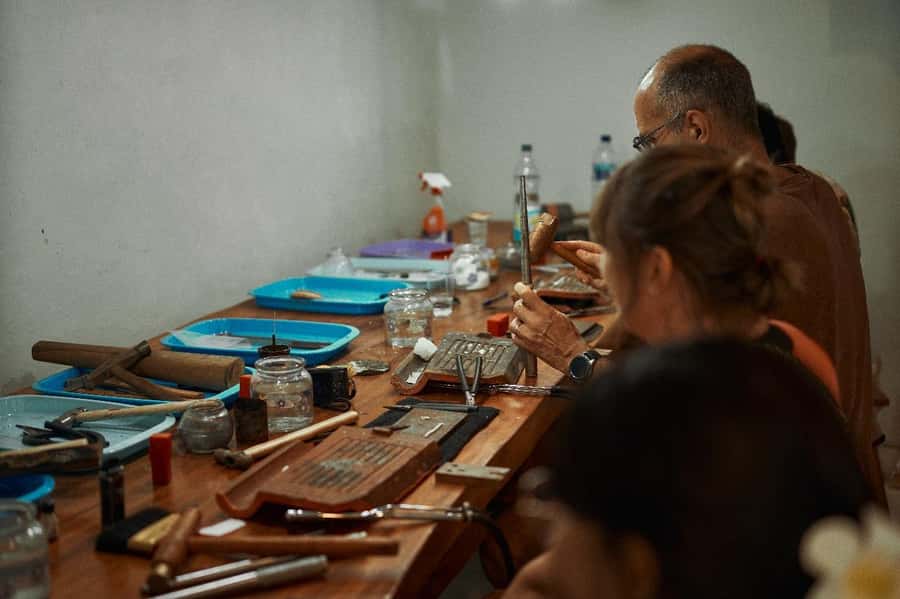
This class is built around one simple idea: you learn how silver jewelry is made by doing it. That matters because Bali has no shortage of shopping, but most “souvenirs” are finished items you pick up and leave. Here, you spend the time learning the craft steps, then you carry the proof home on your wrist or finger.
The timing is also smart. At 3 hours, you get enough structure to make something real, without the sunk-time pressure of a full-day workshop. It’s a great way to fill a half-afternoon gap in Kuta or Uluwatu, especially if you’re also doing temple visits, beaches, or a sunset stop.
One more value point: you’re given the silver and the tools. That removes the guesswork you’d have with a DIY workshop. You’re paying for the lesson, the process, and the finished take-home result, not just for access to equipment.
More Silver Jewelry Classes in Uluwatu:
- Bali: Uluwatu Silver Jewelry Making Workshop with Creation
★ 4.9 · 260 reviews - Uluwatu : Make Your Own Silver Jewelry Class
★ 4.8 · 71 reviews - Uluwatu: Krisna Silver Class & Workshop
★ 4.6 · 48 reviews
Who this fits best
- Couples who want matching rings or coordinated bracelets
- First-timers who like learning with their hands
- People who want an experience souvenir, not another T-shirt moment
- Anyone who enjoys crafts, even if you don’t consider yourself “a jewelry person”
Kuta vs Uluwatu: Picking the Workshop That Matches Your Bali Day
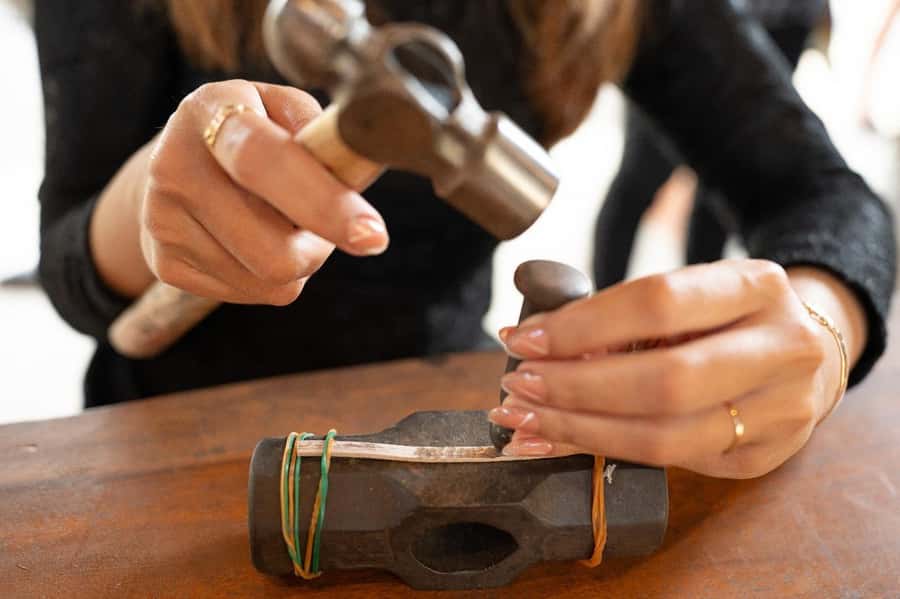
You get two workshop locations, and the location choice affects convenience more than people expect.
Uluwatu workshop: a “south Bali” feel
The Uluwatu workshop is near Garuda Wisnu Kencana, also close to the Kecak Dance and Sunset Uluwatu area, plus it’s associated with the Pandawa Beach and Melasti Beach region. If your itinerary is already weighted toward that side of the island, Uluwatu can feel like a natural add-on, not a detour.
Something different for the next Uluwatu day:
- Bali: Uluwatu Kecak and Fire Dance Show Entry Ticket
★ 4.2 · 5,189 reviews - Bali: Kecak Fire Dance Show & Uluwatu Temple Entry Ticket
★ 4.2 · 3,023 reviews - Uluwatu: Beginner & Intermediate Surf Lesson with Equipment
★ 4.9 · 832 reviews - Bali Uluwatu: Garuda Wisnu Kencana Entrance Ticket
★ 4.4 · 567 reviews
Kuta workshop: easy with beach and shopping plans
The Kuta workshop is set near Kuta Beach and Legian Beach, and it’s associated with Beachwalk Shopping Center. If you’re staying around Kuta, Legian, or you want to keep evenings simple, this option usually fits better.
My practical tip
When you book, double-check that you picked the right one. The activity notes specifically say you need to choose the correct workshop, and meeting points can vary. If you’re unsure, choose the location that’s closest to where you’ll already be an hour before the class.
Design Stage: How You Choose What You’ll Actually Make
The design part is where the class feels personal. You’ll pick a jewelry design from a reference list provided by the workshop, but you can also bring your own design ideas.
Two details are important for your sanity:
- The design should be executable within the 3-hour workshop window.
- If you want your own design, you should discuss feasibility with the silversmiths in advance.
That time limit is not just a “schedule” issue. Complex designs take longer for shaping, soldering, and finishing, and the class has to end with polishing and a wearable result. So if your dream piece is very intricate, you’ll want a simpler, bolder version that can be completed in time.
The one-design rule (and why it helps)
Each person can only make 1 jewelry design. If you make more than one design, there’s an extra charge of IDR 300k per additional design.
That rule can sound limiting, but it also protects the experience. You won’t get stuck with the pressure of half-finishing two different pieces.
Personal touches you can ask about
Some people report options like engraving. That isn’t spelled out in the main process list, but it does come up in real class outcomes. If personalization matters to you, ask at the design selection stage so you can build it into the plan early.
The Step-by-Step Silversmithing Flow (Melting to Polishing)
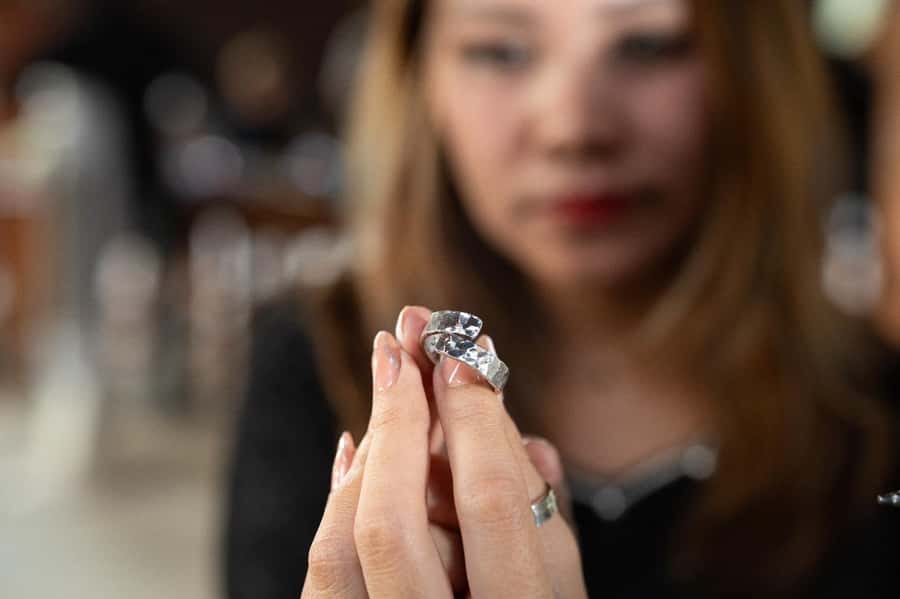
The class runs through a clear process that you can think of as a sequence of small wins. Here’s what you’ll do, and why each step matters.
1) Design selection
You choose the design you’ll make and align it with what can be completed within the workshop duration. If you’re bringing your own idea, this is where the silversmith helps you adjust it so it’s realistic.
2) Material introduction
You’ll learn about the silver options used in the workshop, including pure Indonesian silver and 925 sterling silver.
This is a good moment to ask what finish or look you’re aiming for. Different silver types can influence how the piece behaves as it’s shaped and finished.
3) Melting and molding the silver bar
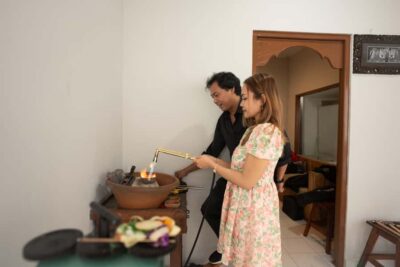
Silver starts solid, so the first “real craft” moment is melting it using a burner and then pouring it into a mold to form a bar.
Practical takeaway: this stage is where you see the material transformation. It’s also the stage that makes the rest of the steps possible, because you’re creating the raw form you’ll hammer and roll.
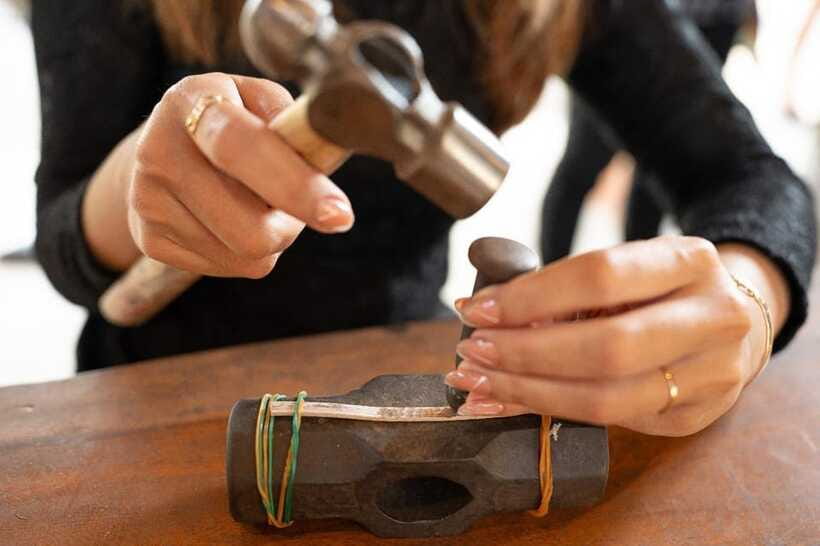
4) Hammering
You hammer the solidified silver to harden it. This makes the later stages more durable and reduces the chance of breakage.
If you’ve ever broken something thin by accident, you’ll appreciate this step. It’s not just tradition, it’s structure.
5) Rolling into sheet or wire
Next, the hardened silver gets processed with rolling tools to create thin sheets or wire, depending on the jewelry style.
This is a key moment for shaping your final form. If your design is ring-based, wire and sheet choices can change the thickness and feel of the finished piece.
6) Shaping
Now it’s time to shape the silver according to the design. This is where your creativity is physically “translated” into metal form.
7) Soldering
Soldering joins separate parts. This stage rewards patience. If your joint isn’t aligned well, the finish will show it later.
8) Sanding
After soldering, sanding smooths rough edges and cleans up connections.
This is the step many people underestimate. It’s also one of the biggest “why it looks good” moments, because sanding creates the transitions your eye expects.
9) Polishing
Finally, polishing gives the refined shine.
If you want your jewelry to photograph well and look clean in daylight, this step matters a lot.
10) Ready to wear
Once polished, your piece is ready to take home and wear.
Some people also describe finishing like oxidizing. That can depend on the specific design and options offered on the day, so treat it as a possible extra rather than a guaranteed feature for every piece.
Price, Silver Weight Rules, and When You Might Pay More Than $41
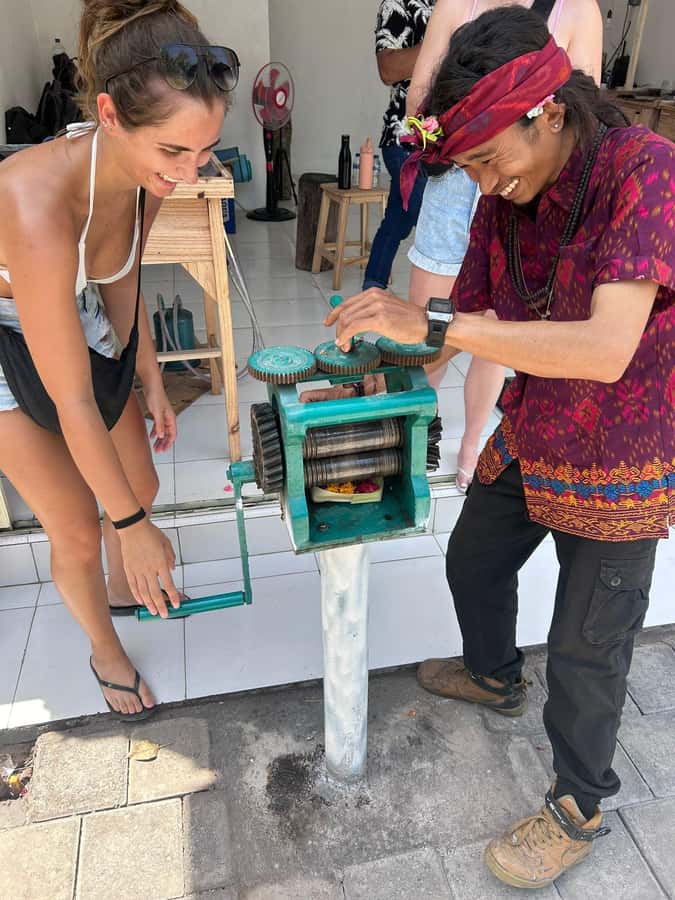
At a listed price of $41 per person for about 3 hours, the value is largely about what’s included: you get guided labor, tools, instruction in multiple languages, snacks and mineral water, complimentary Wi-Fi, and a finished piece made from included silver.
But here’s the part you must read closely before you fall in love with a design that’s too ambitious.
The included silver amount
You receive high-quality Indonesian silver, typically 3 to 5 grams (with the class description also referencing 2 to 5 grams). The workshop notes also say that if your silver jewelry is less than 5 grams, the usage is still accounted for as 5 grams.
So practically, you’re working with a minimum “counted weight” of 5 grams.
Extra cost for going beyond 5 grams
If your total silver weight for the jewelry goes over 5 grams, there’s an additional fee of IDR 100,000 per gram for more than 5 grams.
Also note:
- Sharing silver with other participants is not allowed.
- If you try to make more than 1 design, that’s IDR 300k per additional design.
What that means for your choices
If you want one simple ring or a bracelet in a manageable style, $41 can feel straightforward. If you start adding extra components or making a bulkier piece, the grams add up fast and you’ll want cash ready for the extra fees.
My practical suggestion: pick a design that looks great even if it’s not “max silver.” You’ll be happier with the process and you’ll avoid last-minute surprise costs.
What’s Provided During the Workshop (So You Can Focus on Crafting)
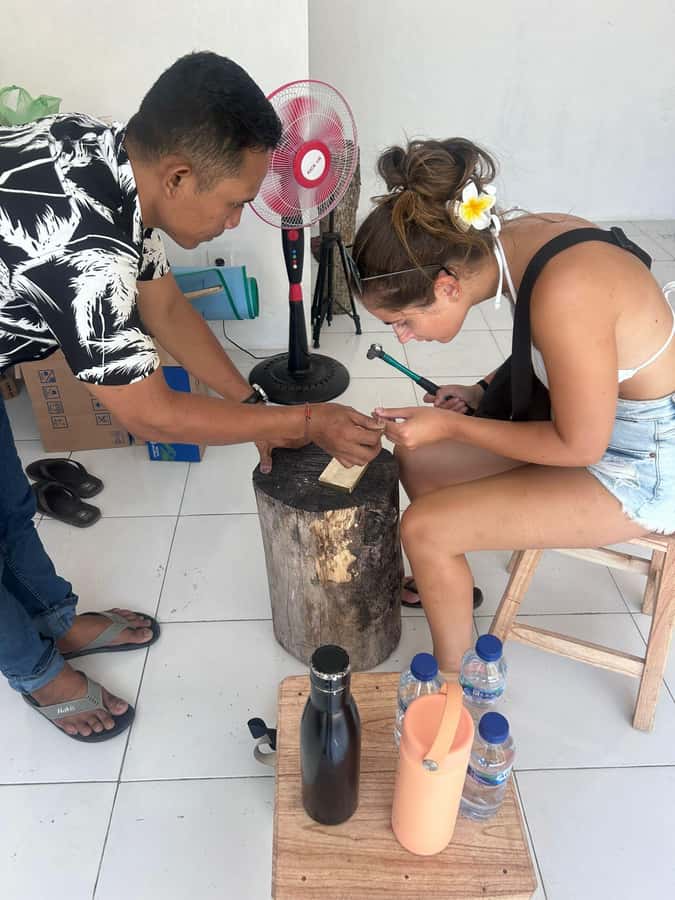
This is one of the reasons the class works for first-timers. You’re not on your own figuring out equipment.
Included in the experience:
- Silver provided for your piece (within the included weight limits)
- Personalized instruction from silversmiths
- All necessary materials and tools
- A finished piece to take home
- Snacks and mineral water
- Complimentary Wi-Fi
They also encourage the right mindset: you do not need prior experience. It’s suitable for all skill levels as long as you’re willing to learn and have fun with the process.
Languages and pace
The instructor support covers English, Indonesian, and Malay. In a class like this, language clarity matters because you need to understand technique, safety, and what “good alignment” looks like during soldering.
Small group availability is also a plus. A smaller group usually means more time getting hands-on help instead of watching from the sidelines.
Practical Tips to Get Better Results Without Stress
You can make this experience go smoothly with a few smart moves.
Wear the right clothes
Wear comfortable clothing suitable for crafting activities. Your clothes should handle a “workshop vibe,” meaning you’re doing hands-on metal work.
Bring cash for potential add-ons
The workshop explicitly notes you should prepare cash for excess silver charges. That’s also where “simple design” becomes your friend.
Choose your design with the time limit in mind
The workshop says your chosen design should be feasible within the 3-hour duration. If you want a clean finished piece, pick something that doesn’t require lots of tiny extra parts.
Use the instructors early
If you’re unsure about what will work, ask questions while you’re shaping and during soldering prep. This is when guidance saves you the most time.
In real class outcomes, instructors like Made and Kusuma are described as patient and step-by-step focused. That kind of support is exactly what makes a beginner piece look like it has intention.
If you want engraving or extra personalization, ask early
Because time matters, any personal detail should be discussed at the design stage. Waiting until the end can mean you lose the chance to incorporate it.
Should You Book This Bali Silver Jewelry Class?
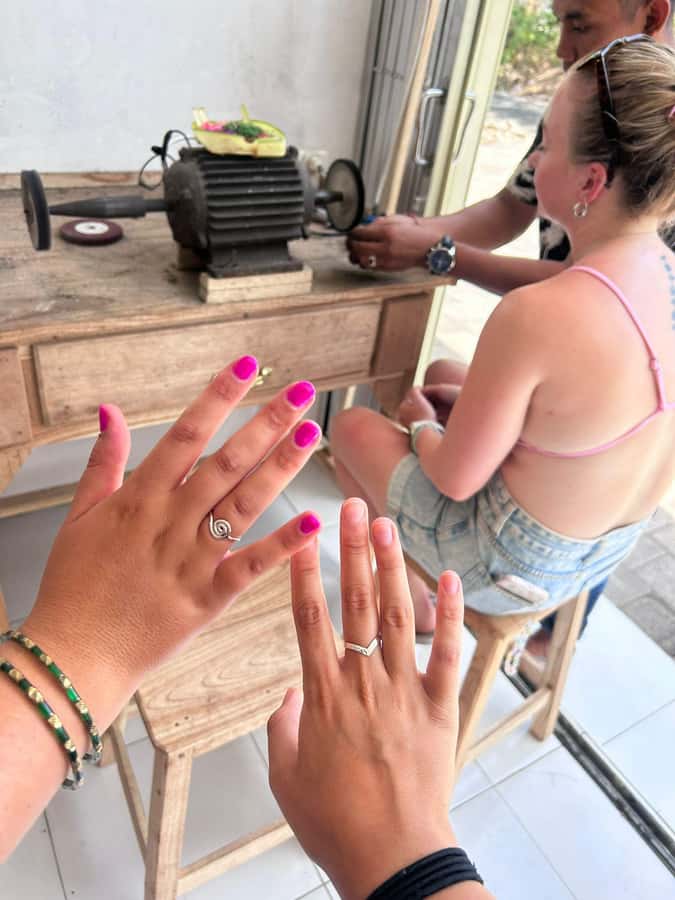
I think it’s a strong yes if you want a meaningful Bali souvenir that comes from your own effort. At $41 for a 3-hour class with instruction, tools, snacks, and take-home silver jewelry, the value makes sense, especially when you consider you’re not just buying a product, you’re learning the craft steps that create it.
Book it if:
- You want hands-on learning in a short time
- You like crafts and don’t mind getting a little work-hands involved
- You’re okay picking a design that fits the workshop’s time and weight limits
- You want matching rings or a wearable memory from your trip
Skip it or choose a simpler approach if:
- You want a very heavy or highly complex design, since anything over 5 grams costs extra
- You’re hoping to make multiple separate pieces in one session, because there’s an IDR 300k charge for additional designs
- You’re traveling with very young children (children under 6) or if your group includes someone over 70, since the workshop notes those age ranges as not suitable
If you’re making one smart decision in Bali, this is one of the best because you leave with something you built, not just something you bought.
Newest reviews out of Uluwatu
- Uluwatu: Krisna Silver Class & Workshop★ 4.6 · 48 reviews
- Bali: Padang Beach, Uluwatu Kecak Fire Dance, & Suluban Tour★ 4.7 · 61 reviews
- Best Surf Lesson around Uluwatu★ 5.0 · 64 reviews
- Uluwatu : Make Your Own Silver Jewelry Class★ 4.8 · 71 reviews
- Uluwatu: Private Surf Lesson with Surf Photos & Videos★ 4.8 · 75 reviews
- Bali: Uluwatu Silver Jewelry Making Workshop with Creation★ 4.9 · 260 reviews
- Uluwatu: Mud ATV Quad Bike Adventure Guided Tour★ 4.8 · 299 reviews
- Bali: Kecak Fire Dance Entry Ticket and Uluwatu Temple★ 4.0 · 406 reviews
Silver Jewelry Classes, compared.
Hands-On Silver Jewelry Making Near Ubud’s Monkey Forest
Read our review →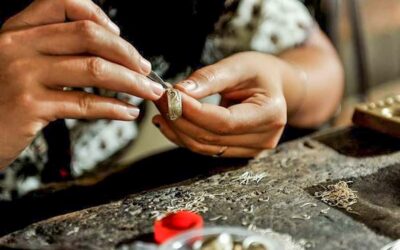

Ubud Silver Artistry Class: Create Unique Jewelry in Bali
Read our review →
Uluwatu Silver Jewelry Making Workshop with Creation
Read our review →Browse the lists this tour appears in