
Reviewed · BATIK CLASSES
Yogyakarta: Batik Making Class with Expert
Making batik in Yogyakarta is interesting because you get the full workflow, from design sketch to wax work to color, not just a quick demo. I like that you’re guided by long-time batik practitioners, and I also like that you leave with your own finished cloth. One thing to consider is that the technique rewards patience, so if you rush the wax or skip key steps, your results may not look as crisp as you hoped.
You’ll start with a pencil design on cotton, then move to heated wax applied with a canting tool, and finish with coloring that matches your plan. In one class I read about, the guides Ridwan and Prakash walked beginners through every stage and helped the group feel confident by the end.
What You Should Know Before You Go
This is a hands-on workshop built around the practical side of batik. You’re not just touring, and you’re not just watching. You’ll also visit a batik museum, which helps turn the craft from abstract culture into something you can see, map, and copy in your own design.
One consideration: there’s a hotel pickup option for an extra fee, so decide early if you’ll taxi in yourself or pay for the smoother door-to-door timing.
Key Highlights You’ll Feel in the Classroom
- You make your own batik design, starting from a pencil sketch on cotton
- Wax work with canting, using a small stove and the manual drawing method
- Museum visit included, so you understand patterns and choices before you commit to yours
- Your finished cloth belongs to you, so this isn’t a souvenir you just buy
- English-speaking instruction, with step-by-step help that suits first-timers
- Ridwan and Prakash are specifically mentioned as guides who lead beginners confidently
More Batik Classes in Yogyakarta:
- Yogyakarta: 2-hour Batik Making Course with Souvenir
★ 4.9 · 304 reviews - Batik Master Class with Full Process
★ 5.0 · 103 reviews - Yogyakarta: Batik Painting Workshop
★ 4.9 · 72 reviews
What You Actually Make: A 25x25cm Take-Home Batik Piece
The workshop is built around a real, finished product: a 25x25cm cotton cloth that’s yours to take home. That size is big enough to notice details, patterns, and line quality, but small enough that a 2 to 3 hour workshop structure can still work for beginners.
This matters because batik is visual. The “wow” is in the crispness of lines, the contrast of wax-resistant areas, and the way colors settle into the fabric. If the workshop were only a short demo, you’d miss the part where your decisions turn into results. Here, the format gives you enough time to make choices, correct mistakes, and still finish.
Also, since it’s a take-home item, you can bring it back carefully as a gift, or frame it later. Even if you don’t become a batik artist, you’ll still walk away with something personal, not a generic postcard.
Enter the Manual Drawing Technique: Pencil Sketch to Wax Lines
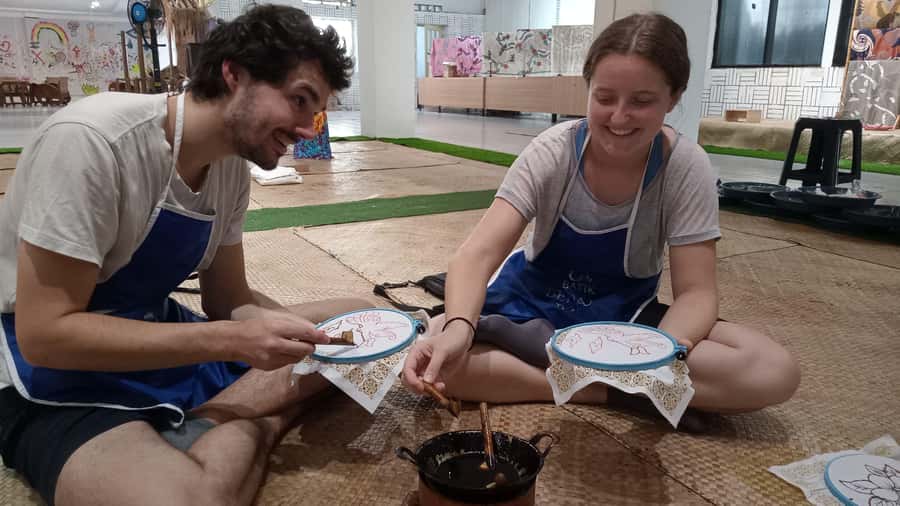
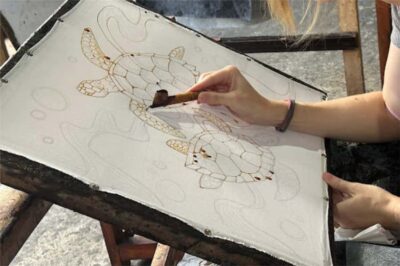
The heart of batik making is the resist process. In this class, you start by creating your own design by drawing it on the cloth with a pencil. This step is where you get to be creative, but it also sets up everything that follows.
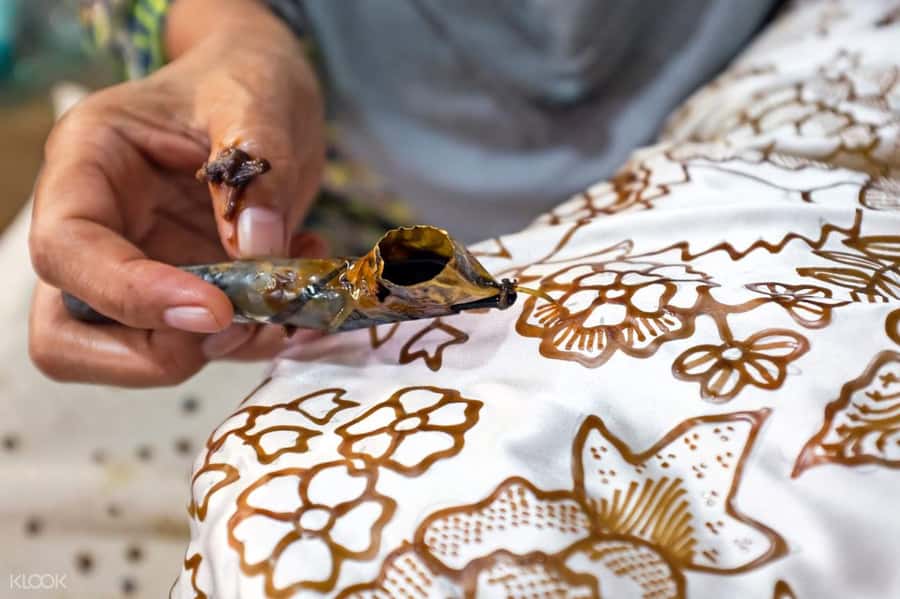
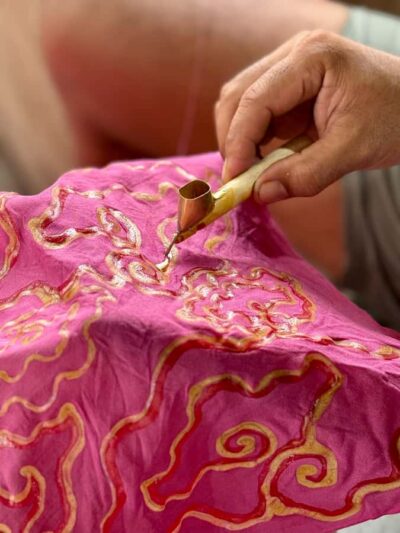
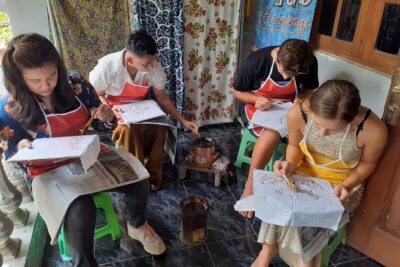
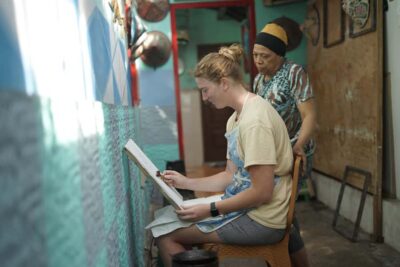
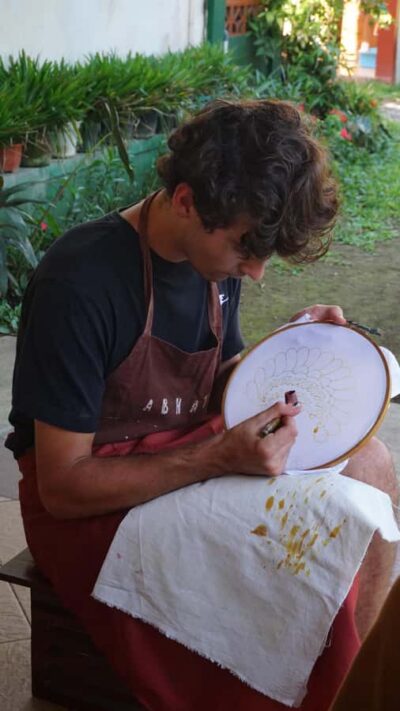
Then comes the canting part. The instructor teaches you to apply heated wax using a tool called a canting. The wax is heated on a small stove, and you use the canting to draw the design lines in wax. The wax acts like a barrier so that later coloring does not fully absorb where wax remains.
This stage is both the most rewarding and the most “technical” part of the experience. You’re not just drawing. You’re drawing in a way that has to survive the coloring stage and the later boiling stage that removes wax. That’s why guidance matters so much, especially for beginners.
A practical tip to ask about during the wax phase
One detail that can affect your final look is wax coverage. If you don’t apply enough wax, the resist effect may not transfer properly through the fabric, which can cause thin or broken patterns once coloring happens. A good workaround is simple, and it’s exactly the kind of thing an instructor should point out while you’re still drawing, before you commit to fine lines.
Something different for the next Yogyakarta day:
- Yogyakarta: Borobudur sunrise(guarantee climb up)& Prambanan
★ 4.9 · 1,545 reviews - Borobudur Sunrise from setumbu Hill , Merapi Volcano & Prambanan Full Day Tour
★ 5.0 · 1,030 reviews - Yogyakarta: Jomblang Cave and Pindul Cave all inclusive Trip
★ 4.9 · 854 reviews - Yogyakarta: Borobudur and Prambanan Temples Guided Tour
★ 4.9 · 828 reviews
Coloring and the Boil Stage: Why Your Patterns Appear After the Wax Disappears
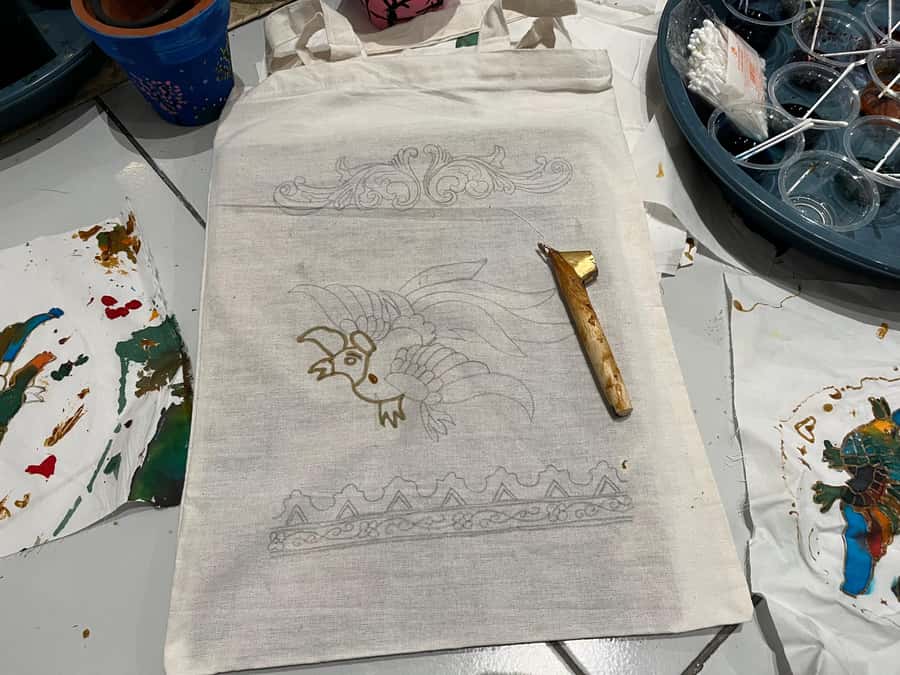
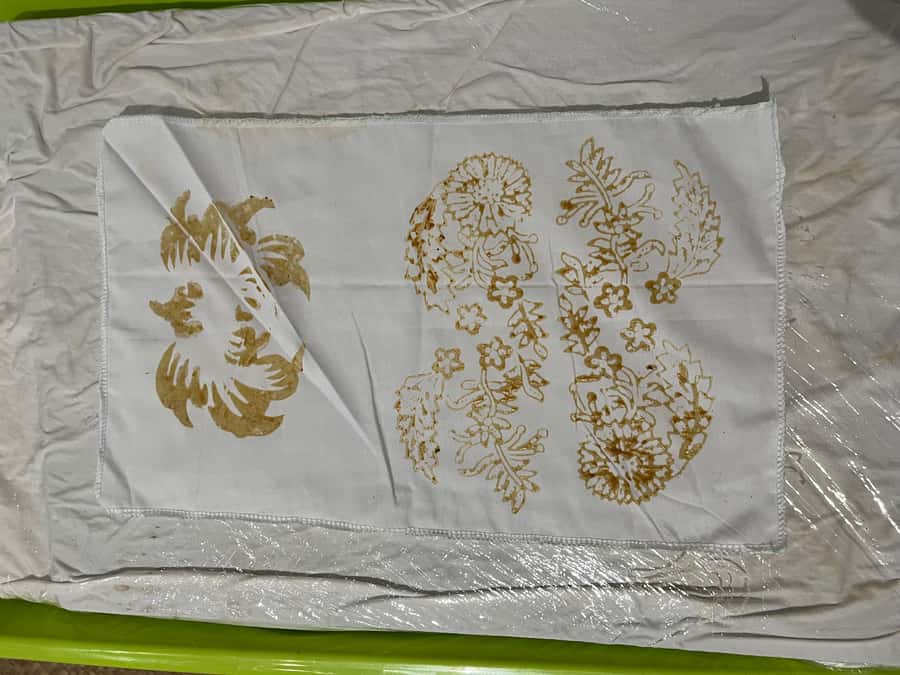
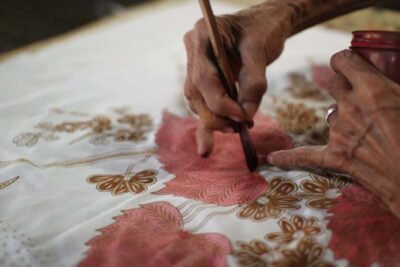
After wax drawing, you move to coloring. The class instruction sequence is designed so you can see your design evolve. Waxed areas resist color, so your pattern emerges as you add dyes.
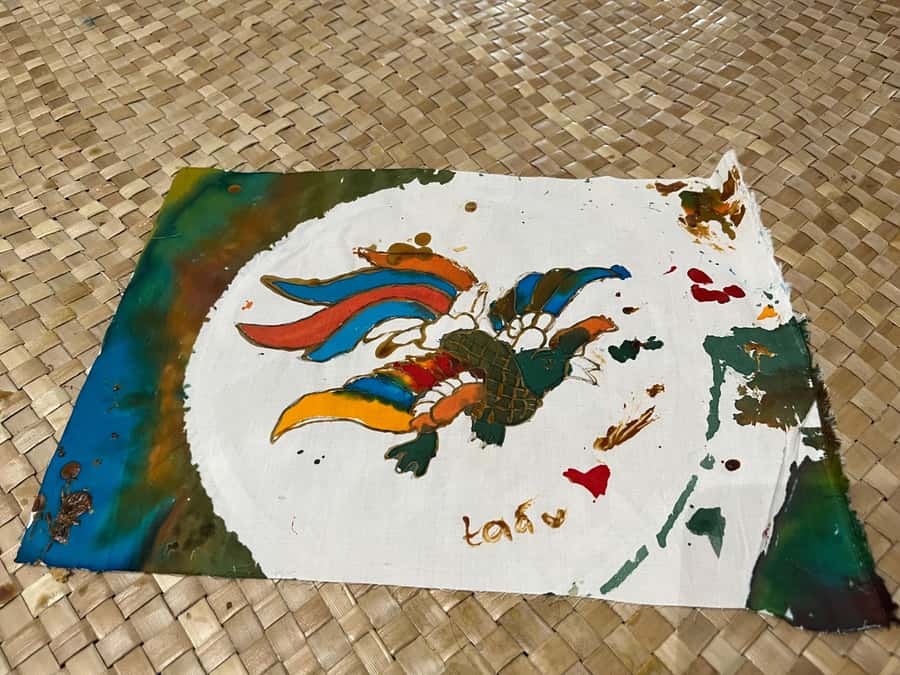
A key part of the process is the boiling step. In one beginner-friendly lesson described, the wax disappears during boiling and leaves behind the white lines and shapes that formed the resist pattern. That’s the magic moment, but it can be surprising if you’re seeing it for the first time.
Here’s the helpful way to think about it: you’re not coloring “the final image” during the coloring stage. You’re coloring the fabric while wax still controls where the color can go. When the wax comes off, the negative space becomes part of the artwork.
Another detail that can change the final look: background finishing
One class experience noted that after coloring, the background might need additional painting so the cloth doesn’t look unfinished or odd. You may not need to do this for every design, but it’s smart to ask your instructor what they recommend for your specific pattern.
If you want your batik to look balanced from a distance, ask about the background at the moment you begin coloring, not after everything dries.
The Batik Museum Stop: Turning Patterns Into Choices, Not Guesswork
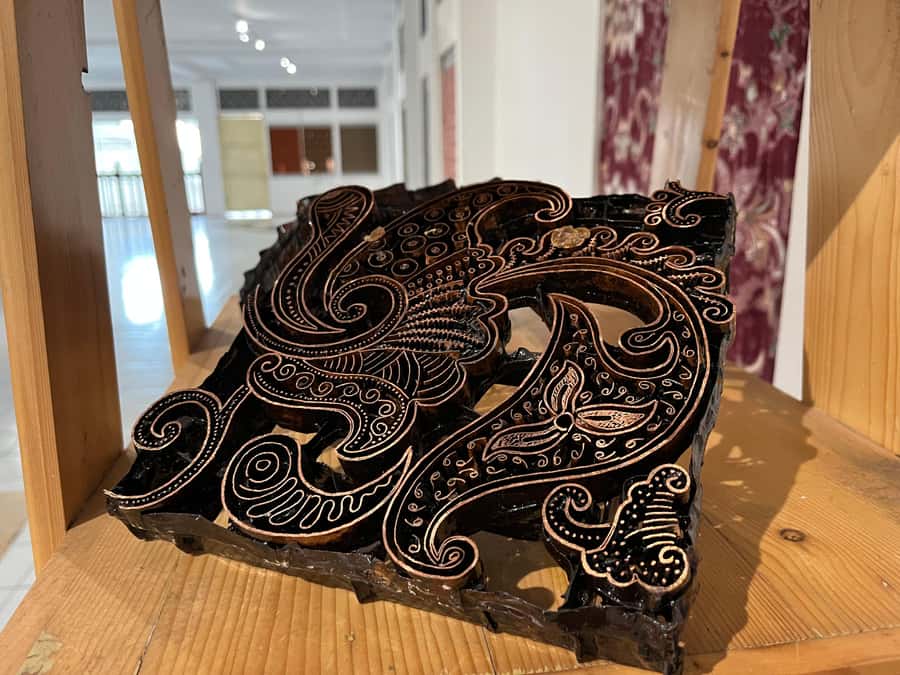
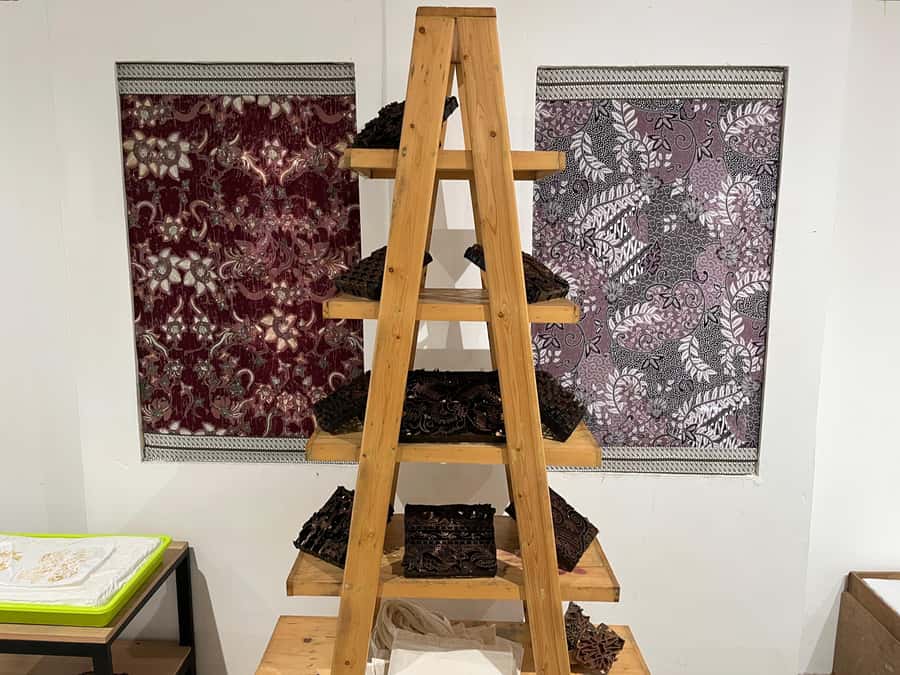
This workshop includes a batik museum visit, and that’s more useful than it sounds. Batik patterns follow ideas, not random decoration. When you see textiles and motifs up close, you start understanding how designers use line thickness, symmetry, and repeated elements.
Even if you’re a beginner, the museum stop gives you a mental library. You can borrow motif structure, simplify shapes, or choose a style that feels achievable in a 2-hour workshop.
It’s also where the tradition becomes practical. Instead of treating batik as a single technique, you start seeing it as a system: pattern design plus resist process plus dye results. That helps your pencil sketch step because you have references in mind.
One more point: the experience includes skipping the ticket line, which is especially helpful if you’re fitting this activity into a day that already has traffic, meals, and wandering around Yogyakarta.
Tools, Materials, and What the Class Actually Supplies
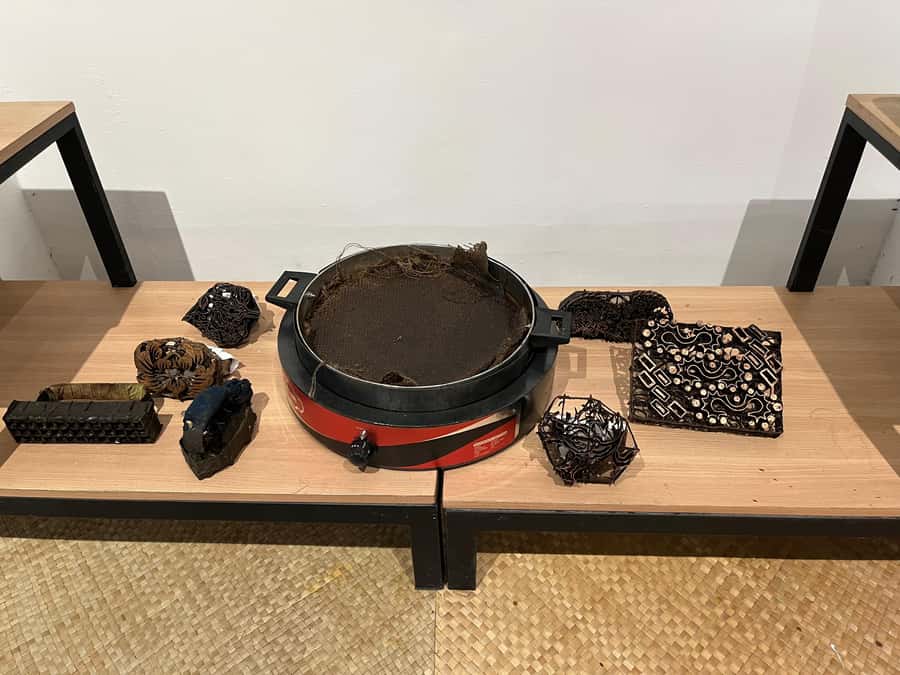
You’re not expected to show up with batik gear. The workshop includes tools and materials, plus a batik introduction. You’ll also be taught how the wax application and dye steps work in practice, not just in theory.
The “what’s included” part matters for value because batik tools are not cheap if you tried to piece them together on your own. Instead, you pay for a guided session where the hard-to-start supplies are already there, and your teacher can correct your technique as you go.
That said, you should bring the basic comfort items yourself: snacks and water. If you’re the type who gets a headache when you forget to eat, plan a small snack before you start, then keep water handy during breaks.
Your Guides in English: Step-by-Step Help That Makes Beginners Feel Normal
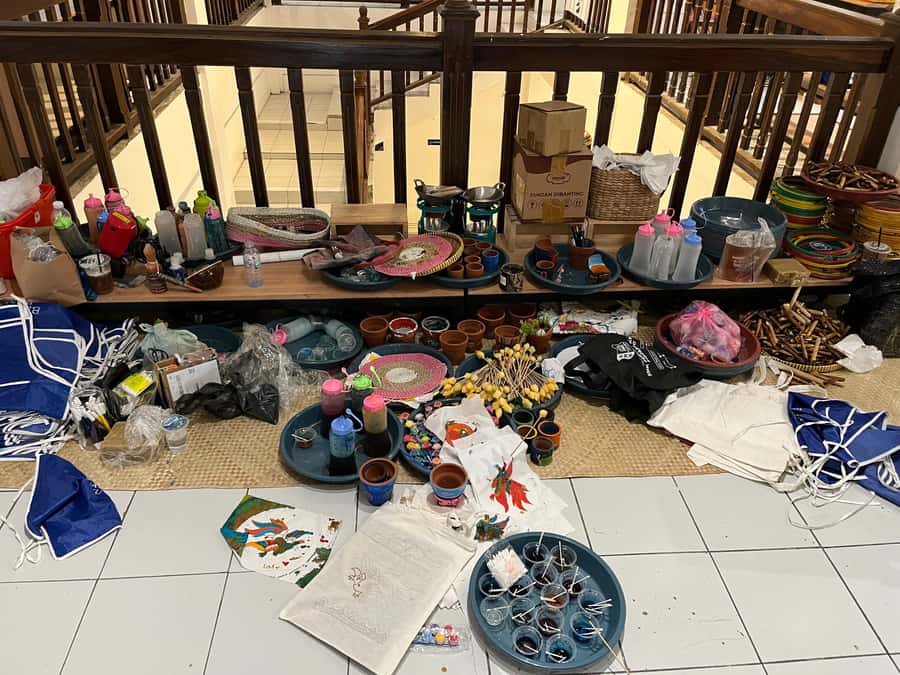
Instruction is in English, which is a huge plus if you want to actually understand each stage. When the instructor can explain wax behavior, line thickness, and the logic behind the resist process, you’ll stop guessing and start making decisions.
Two guide names come up clearly: Ridwan and Prakash. They’re described as charismatic and kind, and the biggest theme is step-by-step guidance. That matters because batik is a craft where small mistakes compound quickly. If someone tells you what to do at the right time, you can recover without losing the rest of your session.
They also appear to be the type who help you get unstuck. In one case, an older helper quickly supported a participant who had wax coverage issues during the fine-line stage. In other words, you’re not left to spiral.
Time in Real Life: 2 Hours, Often With Some Flex
The advertised duration is about 2 hours, and the process is described as roughly 2 to 3 hours depending on the package you take. That flexibility is important. Batik making takes time because every stage needs careful handling, including wax application and coloring.
If you’re doing this as part of a Yogyakarta day plan, give yourself a little breathing room. Don’t stack it right next to a timed tour where you’ll be stressed about being late.
Also, remember this is not a “watch and leave” activity. You will be producing something with your hands. Even if you’re fast, you’ll want a few minutes for setup and cleanup so your cloth can be handled properly.
Price and Value: Why $36 Can Be a Good Deal Here
At about $36 per person for a 2-hour workshop, this is positioned as a value cultural activity, not an expensive private art class. Here’s why that price can make sense based on what you get.
You’re paying for:
- instruction in manual batik technique (pencil sketch, wax with canting, coloring)
- tools and materials
- an included batik museum visit
- English-speaking teaching
- a finished cloth take-home result
If you tried to buy similar materials and tools and teach yourself, you’d likely spend more without getting the corrective feedback that keeps beginners from wasting time. In a short workshop, that coaching is the product.
The biggest “cost” outside the ticket is your time and focus. If you show up distracted, tired, or impatient, you’ll spend the workshop fighting technique instead of learning it. If you show up ready to pay attention, you’ll leave feeling proud.
Getting There: City-Center Meeting Point and the Pickup Option
The meeting point is near the city center of Yogyakarta. If you want convenience, there is hotel pickup and drop-off for an additional fee of IDR 200k (Yogyakarta area).
If you’re staying close to the action, you can go by yourself using a taxi. In that case, you’ll avoid the pickup scheduling overhead and can control your departure timing.
One practical note: the admin will inform you about the batik painting venue one day before the activity. Check your email or WhatsApp so you don’t arrive at the wrong place.
Who This Workshop Fits Best (And Who Might Need a Different Plan)
This is a great fit if you:
- are a first-timer who wants guidance in English
- want a cultural activity that ends with a real handmade object
- like hands-on work more than museum-only visits
- are traveling with friends or family and want something shared and calm
It may not be the best match if you:
- are in a hurry and hate learning through careful steps
- want a super minimalist experience where you only do one part of the process
- dislike tasks where boiling and waxing are part of the workflow you must accept
The good news is that the format is designed for beginners. That’s exactly where careful step-by-step help matters most.
Should You Book This Batik Class in Yogyakarta?
If you want a meaningful souvenir and a skill you can understand, I’d book it. For $36, you get a full workflow, a museum stop, English instruction, and a cloth that’s yours to keep. That’s strong value for a short stay, especially if your Yogyakarta days are already packed.
Book it if you’ll treat it like learning time, not a quick photo stop. Before you go, bring snacks and water, and keep an eye on your email or WhatsApp for the venue details.
If you’re very sensitive to technique issues, ask your instructor early about wax coverage and background finishing. Those small clarifications can make the difference between a piece you’re proud of and one that feels a bit unfinished.
FAQ
How long is the batik class?
The class runs about 2 hours, and the process can take around 2 to 3 hours depending on the package.
Is the instruction available in English?
Yes, the instructor provides instruction in English.
What do I get to take home?
Your finished batik cloth is included, and the workshop includes a 25x25cm cotton cloth.
Do you visit a museum during the experience?
Yes, the experience includes a batik museum visit as part of the workshop.
Is hotel pickup available?
Hotel pick-up and drop-off is available for an additional charge of IDR 200k in the Yogyakarta area. You can also go on your own by taxi.
What should I bring with me?
Bring snacks and water. Tools and materials are provided as part of the activity.
Newest reviews out of Yogyakarta
- Ramayana Ballet Performance In Prambanan Temple With Dinner★ 5.0 · 41 reviews
- Yogyakarta: Ramayana Ballet Performance with Optional Dinner★ 4.4 · 42 reviews
- From Yogyakarta: Borobudur and Prambanan Temples in 1 Day★ 5.0 · 45 reviews
- Yogyakarta: Borobudur Sunset Climb Up Shared Guided Tour★ 4.7 · 46 reviews
- Prambanan Temple Afternoon Tour★ 4.9 · 48 reviews
- Jomblang Cave, Pindul Cave and Oyo River Tour★ 5.0 · 50 reviews
- Yogyakarta: The Jomblang Cave adventure all inclusive tour★ 4.9 · 50 reviews
- Sunset at Prambanan & Including Ticket Ramayana Ballet Show★ 4.8 · 53 reviews
Batik Classes, compared.
Browse the lists this tour appears in