
Reviewed · SILVER JEWELRY CLASSES
Kuta Bali Jewelry Making Class, With 7 grams of Pure Silver
Kuta is famous for many things, but this jewelry class turns your trip into something you can hold. You’ll go beyond picking a souvenir and actually make it yourself, from melting silver to finishing the shine.
I love that the price includes 7 grams of genuine pure silver, so you’re not starting with an empty wallet and empty hands. I also love the small group format (up to 8 people), which means the instructor can actually guide you when you hit a tricky step. The one thing to consider is language. English is available, but if you prefer lots of detailed explanations, you may find you need to ask a few extra questions to get the full picture.
Key Highlights Worth Booking
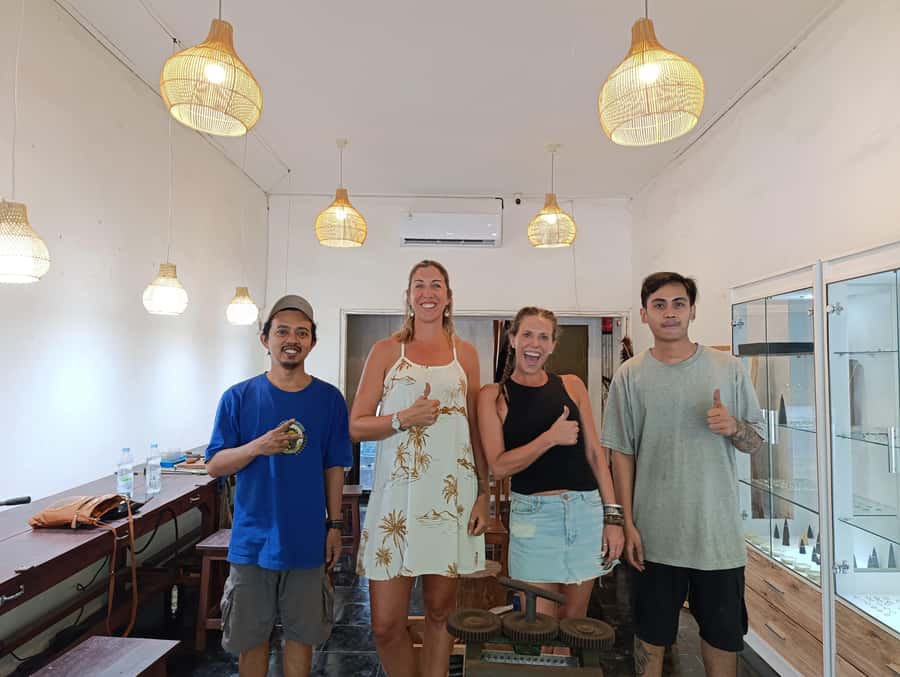
- 7 grams of genuine pure silver included for your finished piece
- Hands-on, from melt to polishing, not a sit-and-watch workshop
- Small group (up to 8 people) for more direct help
- Choose your style: ring, pendant, bracelet, or earrings, plus stamps and motif options
- Take-home keepsake designed to remind you of Bali, and easy to gift
- Upgrades available (extra silver, gemstones, and optional 24K gold plating)
Why This Kuta Silver Jewelry Class Feels Like a Real Keepsake
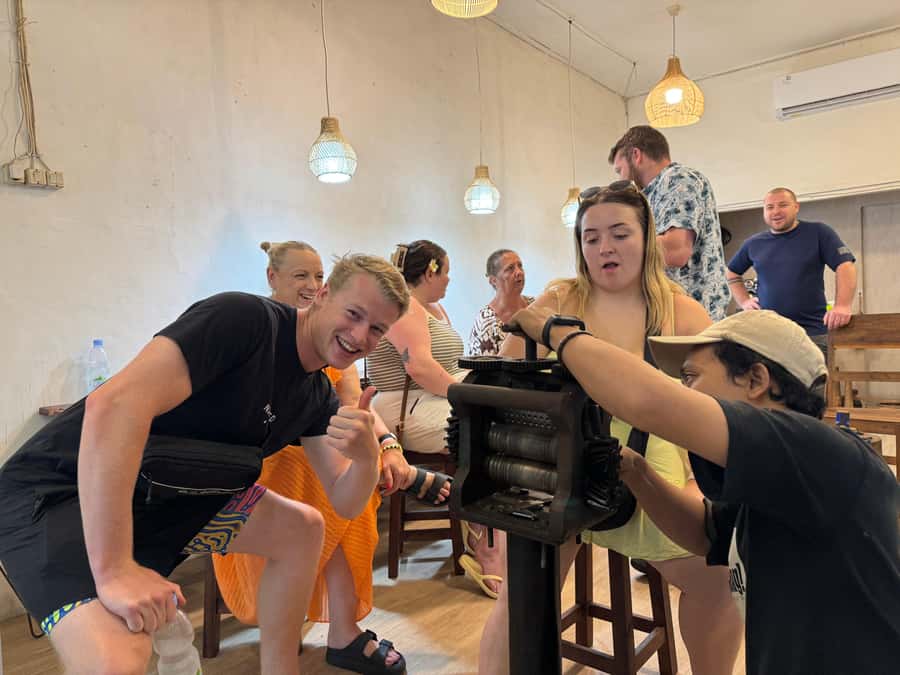
If you’re the type who likes travel to leave a mark, this class delivers. In about three hours, you’ll create a personal piece of jewelry you can wear right away or give as a gift later.
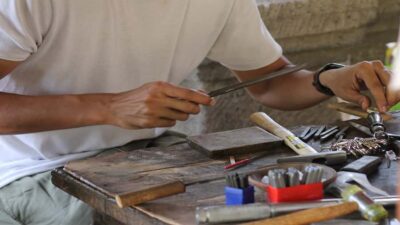
What makes it feel special is the workflow. You’re not just shaping metal. You’re learning the sequence craftspeople use: melt, pour, form, cut or stamp, solder, then sand and polish. That step-by-step structure matters because it takes the mystery out of the craft. You always know what’s happening next and what you’re aiming for.
You also get the emotional payoff. The finished ring or pendant isn’t generic. You’re choosing a motif you like, and you’re building something that feels connected to the place you made it. People often come as couples, friends, or family groups because the outcome looks good, but the process still feels casual and doable.
More Silver Jewelry Classes in Kuta:
- Bali: Seminyak Silver Jewelry-Making Class
★ 4.9 · 129 reviews - Bali: Silver Class in Kuta With Optional Tour And Activities
★ 4.9 · 98 reviews - Kuta Bali Silver Jewelry Making Class Near Kuta Beach
★ 5.0 · 57 reviews
Entering Kuta Silversmith: Location, Group Size, and Your First Decision
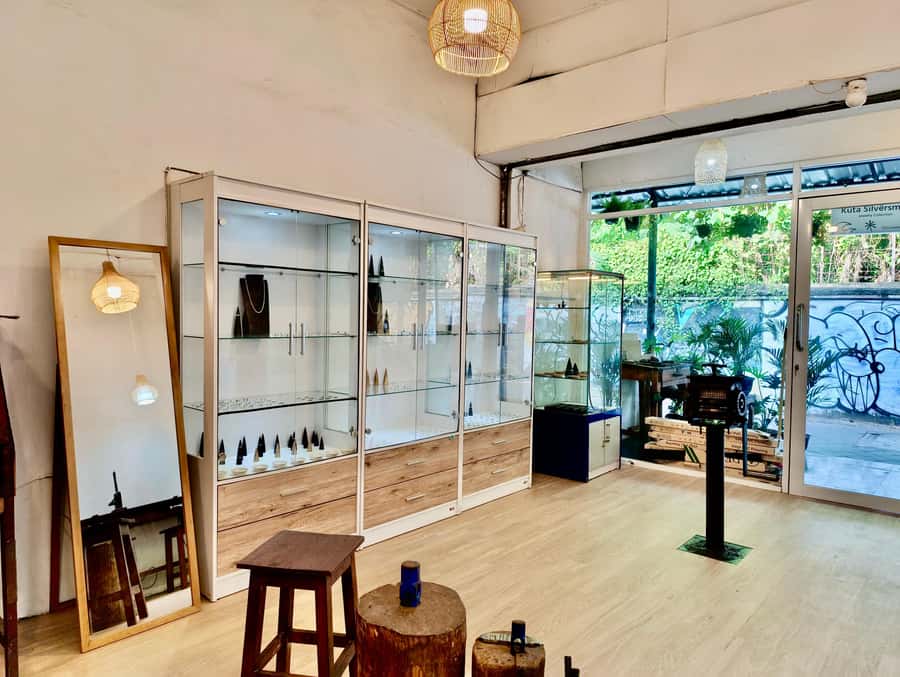
The workshop is in Kuta, near other class-style shops. It’s specifically called Kuta Silversmith, and it’s next to a cellphone store and a surfing shop. If you’re walking the area, you should find it quickly by using those landmarks and the workshop name.
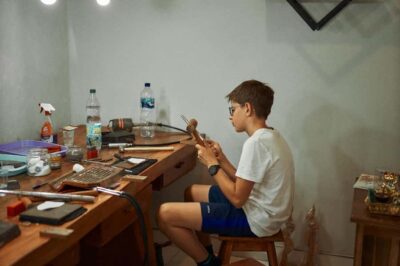
Inside, the group stays small, limited to 8 participants. That size is a big deal. It keeps you from getting lost in a crowd and improves your chances of getting help at the exact moment you need it.
Right away, you’ll make your main choice: the type of jewelry you want to produce, like a ring, pendant, bracelet, or earrings. You’ll also select designs, and you can either start from examples or build your own idea. That gives you flexibility, whether you’re confident about what you want or you just know you want something Bali-inspired.
One note from the experience: the instruction is available in English and Indonesian, and the team is friendly. In a small classroom, even small language gaps can show up, so if you’re unsure, don’t be shy about asking for a clearer explanation.
The 3-Hour Workshop Process, Explained Like a Craftsman
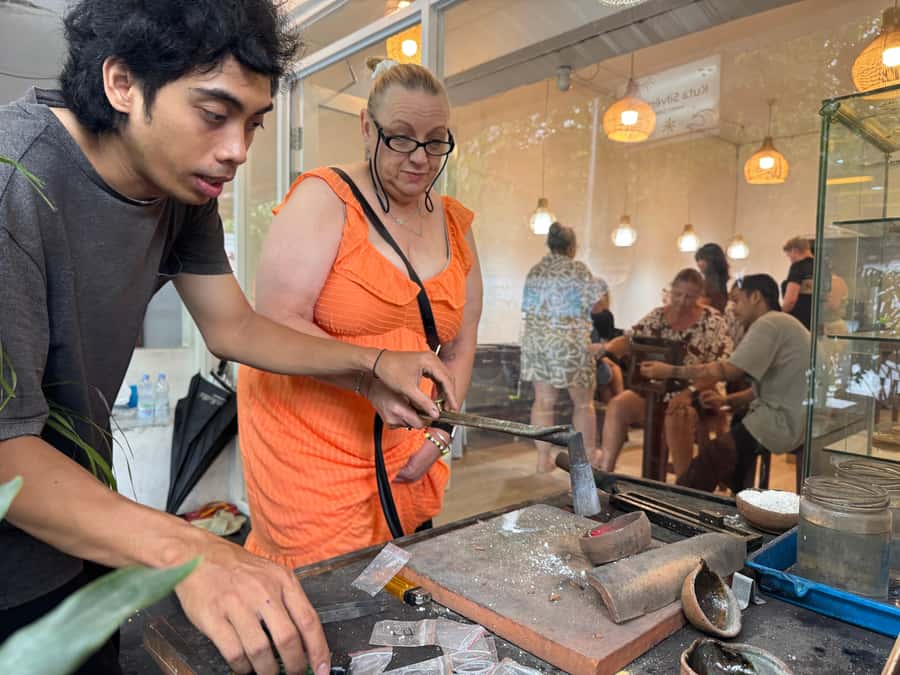
This class is structured as a full loop, from raw silver to a finished shine. Here’s what you can expect, step by step, and why each part matters.
1) Melting pure silver and pouring the mold
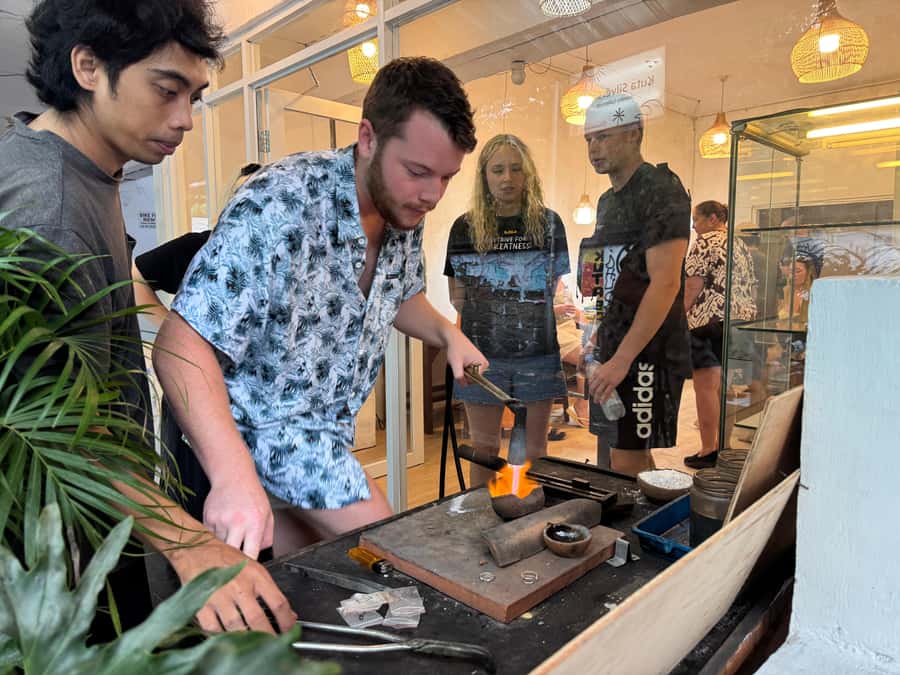
You’ll start by burning and melting pure silver into a liquid state, then pouring it into a steel mold. This is where you see the biggest transformation. Before this point, it looks like simple metal. After, you’re holding a shaped starting piece.
Value for you: you’re not just decorating something pre-made. You’re participating in the core material stage, so the jewelry feels truly handcrafted.
Practical tip: you’ll be working close to heat tools. Wear comfortable clothing and plan to be hands-on.
Something different for the next Kuta day:
- Nusa Penida day trip: boat, 4 snorkeling, Manta rays & Land tour
★ 5.0 · 2,033 reviews - Bali Nusa Penida West Private All-Inclusive Tour
★ 5.0 · 1,277 reviews - Mount Batur Sunrise Trekking Private Tour with Breakfast and Hotel Transfer
★ 5.0 · 885 reviews - Individual Bali Day Trip with Private Driver and Free WiFi
★ 5.0 · 755 reviews
2) Hammering to shape the size and proportions
Next comes hammering. You’ll shape the metal to the width and length you want for your specific item. If you’re making a ring, you’re thinking about sizing. If you’re making a pendant, you’re aiming for proportions that hang well and look balanced.
Value for you: hammering helps translate your idea into the physical form. Even if your design is simple, this step is what prevents a finished piece from looking “off.”
3) Cutting, creating designs, and stamping motifs
Then you move into the creative part. You’ll do cutting and/or stamping to create designs. You’ll have motif options, and you’ll choose what matches your style. Stamping is especially fun because it gives a pattern that looks crisp, not messy.
Value for you: stamping turns personal taste into a visible signature.
Practical tip: decide early what the center motif is. It’s harder to rethink the design halfway through once your metal is formed.
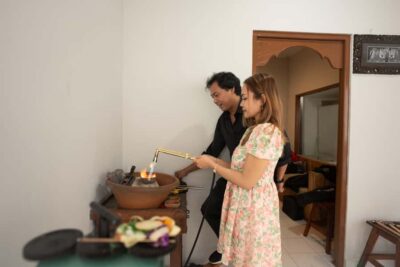
4) Assembling and soldering with fire
After the decorative steps, you assemble the pieces and solder with fire. This is the structural moment, when separate parts become one durable item.
Value for you: soldering is where the craftsmanship shows. This step is why having patient guidance matters, and it’s also where the instructor’s hands-on help can save your piece.
5) Sanding and polishing for that finished look
Finally, you’ll sand and polish until the piece looks smooth and ready to wear. This step often feels like magic because polishing is what turns “made” into “beautiful.”
Value for you: even simple designs can look high-end after a good finish.
Choosing Your Jewelry Type: Ring, Pendant, Bracelet, or Earrings
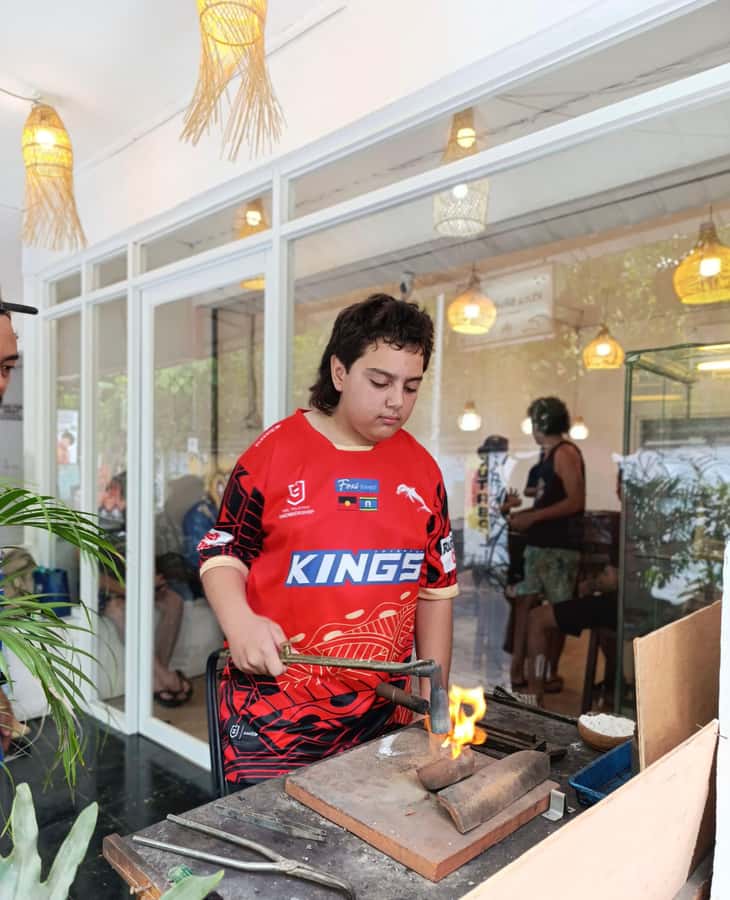
You can make different pieces, and your choice affects both the work and the look.
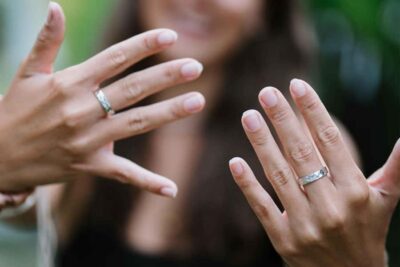
- Rings: great for couples and friends, since everyone can craft something personal. Ring making is also the most emotionally satisfying if you want a Bali memory you can wear every day.
- Pendants: a popular gift style because you can choose a motif that feels meaningful, then let it hang as a daily reminder.
- Bracelets: a good option if you want something visible and bold without needing it to fit a precise finger size.
- Earrings: fun if you’re traveling light and want to bring home something wearable that doesn’t require sizing.
In the class, you’ll make the process happen yourself, but you’ll get guidance at key moments. In at least a few sessions, instructors like Freddie and the team including Sam and Nick are mentioned for being patient and helpful. Since names can vary by day, think of it as: you’re in good hands, and you can ask for support if you get stuck.
Price and What 7 Grams of Pure Silver Really Means
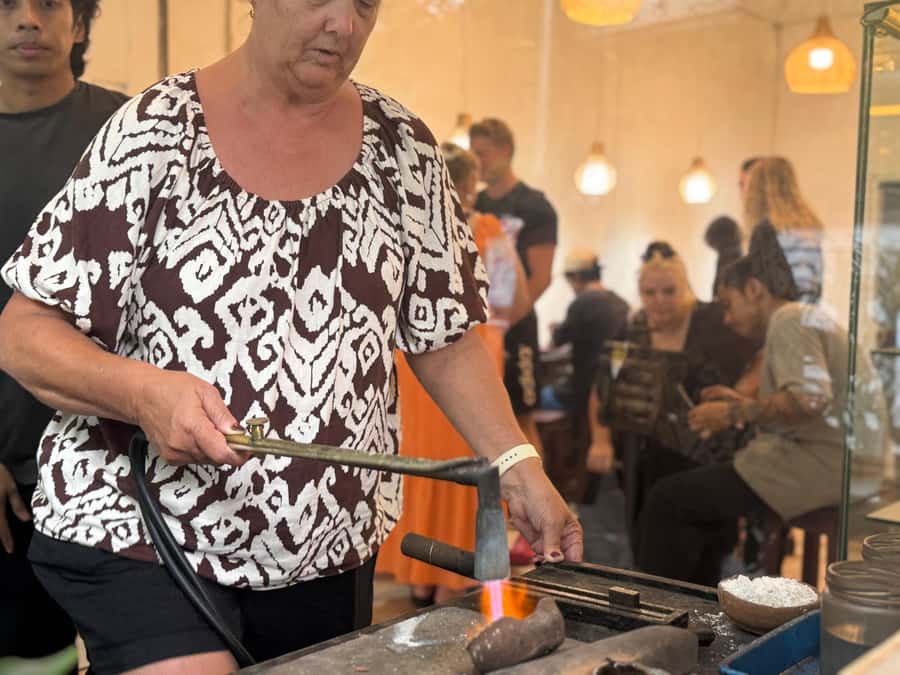
At $33 per person for a 3-hour class, the big value story is what’s included. Your price includes 7 grams of genuine pure silver, plus all equipment for the workshop.
That inclusion matters because it reduces the most common frustration in DIY tourist classes. You don’t arrive and wonder if you’ll have enough metal to finish what you planned.
You also get snacks, mineral water, and Wi-Fi, which sounds small, but it keeps your energy up during a hands-on, detail-heavy session.
What costs extra, and how to plan
Your included silver is fixed at 7 grams. If you want to go bigger, add more elements, or make a more detailed piece, you may need upgrades. The details you’ll receive mention add-on costs for materials:
- Additional silver is listed as 35,000 IDR per gram in the not-included section.
- Another line mentions an option at 60,000 IDR per gram for additional silver.
Because the rates appear as different figures, I’d treat this as a “confirm when you’re there” situation, then decide on the spot based on what you’re building.
Gemstones are available to use, but they cost extra, listed as 50,000 to 250,000 IDR. If you want gold, there’s an option for real 24K gold plating with an additional fee of 250,000 IDR per piece.
My practical advice: if you want the best value, design to fit the included silver first. If you still want upgrades after seeing your piece taking shape, then add them.
The Workshop Vibe: Friendly Guidance and Beginner Comfort
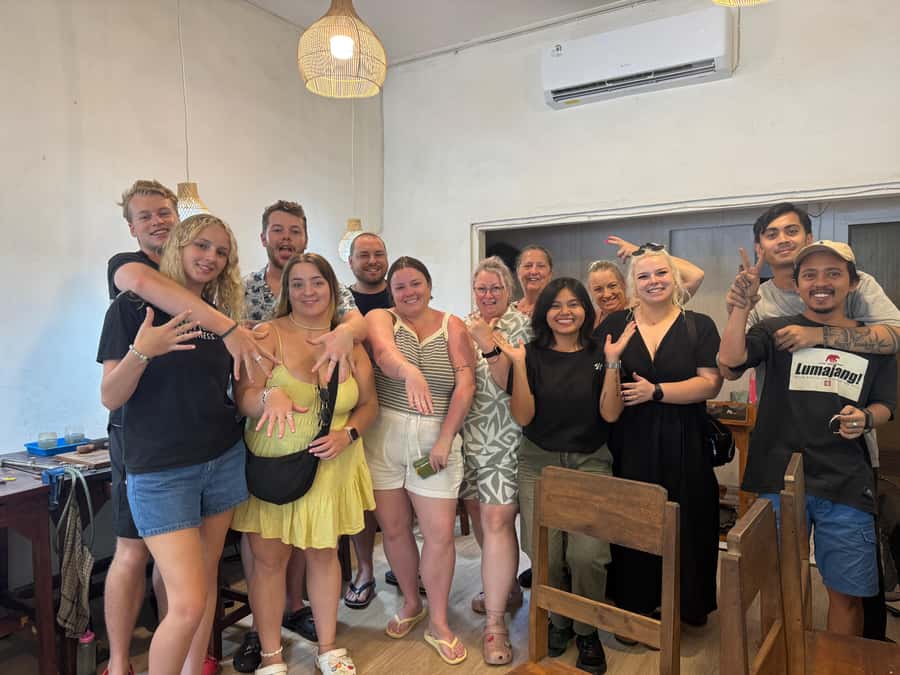
This is a beginner-friendly class, and you do not need prior jewelry experience. That’s important, because you’re handling tools, working with heat, and doing multiple steps in a short time.
What makes it work for beginners is the way the class breaks down tasks. You’re shown the steps, then you perform them with guidance. That blend is the sweet spot. You learn skills while still getting results that look professionally made.
Small-group help is a major reason people leave happy. In a class limited to 8 people, instructors can slow down for you when needed. If you’re working on rings for two people, or making different pieces across a group, you’ll still be able to get attention.
A mild drawback to keep in mind: if you rely on very detailed verbal explanations and your language comfort is limited, you might want to clarify what you should do next as soon as it’s unclear. One learner noted they wanted more explanation, and that’s a totally normal need when language is a factor. Asking questions early prevents redoing steps later.
Materials, Motifs, and How to Make Your Design Look Intentional
You can pick from sample designs or create your own design. You can also choose favorite motifs, which is where you can make the piece feel personal.
If you want a jewelry souvenir that looks clean instead of busy, here’s what to aim for:
- Choose one main motif for the front.
- Keep the stamping pattern bold and readable.
- Think about where it will sit on the finished piece, especially for earrings and pendants.
Because you’ll be soldering and polishing at the end, designs that rely on clear shapes tend to look best after finishing. It’s not about being artistic. It’s about being thoughtful.
Also, remember that this is your Bali memory. If you want to wear it often, keep the theme close to your daily style. If you’re gifting it, pick something that feels universally meaningful, like a simple emblem or a clean pattern.
Who Should Book This in Kuta, and Who Might Skip It
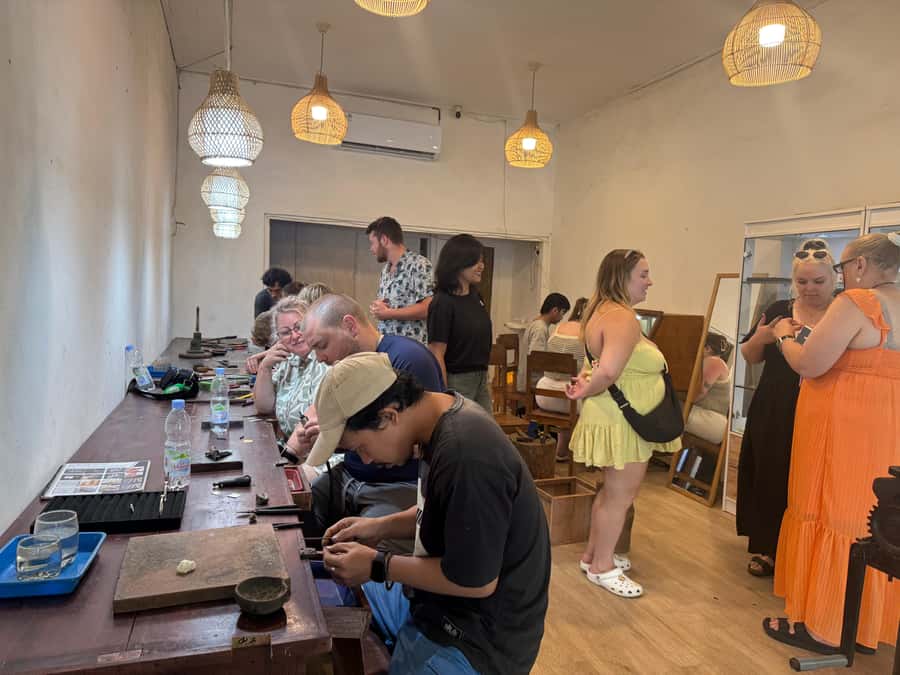
This class is ideal if you want one of these outcomes:
- A wearable Bali souvenir that you made yourself
- A gift that feels personal without being generic
- A fun couple activity where both people create something real
- A family-friendly creative experience that’s active, not passive
You might consider skipping or adjusting expectations if:
- You only want a super lightweight, low-effort activity. This is hands-on.
- You want a highly complex design that requires extra materials. With 7 grams included and a 3-hour time window, keep your plan realistic and let the process guide final decisions.
FAQ
FAQ
How long is the Kuta Bali jewelry making class?
The class runs for 3 hours.
What does the price include?
The price includes 7 grams of genuine pure silver, all equipment for the class, professional instruction, snacks, mineral water, and Wi-Fi.
What jewelry can I make?
You can make a ring, pendant, bracelet, or earrings, and you can choose motifs or use sample designs.
Do I need any experience before I join?
No. The workshop is suitable for beginners, and no prior experience is required.
Are there any extra costs for materials or upgrades?
Yes. Additional silver is not included, and gemstones can be purchased for 50,000 to 250,000 IDR. Real 24K gold plating costs an additional 250,000 IDR per piece.
Is free cancellation available?
Yes. You can cancel up to 24 hours in advance for a full refund.
Should You Book This Silver Jewelry Class in Kuta?
If you want a Bali souvenir that feels personal and looks good, I’d book it. The value is in the included 7 grams of pure silver, the full melt-to-polish process, and the fact that you actually do each step with guidance.
Go for it especially if you’re traveling with someone, because rings and matching pieces tend to turn into the most meaningful keepsakes. Just plan your design to fit the included silver first, then decide on upgrades like gemstones or 24K gold plating if you truly want them.
Newest reviews out of Kuta
- Private Beginner 1 on 1 Surf Lesson at Kuta Beach★ 5.0 · 39 reviews
- Waterbom Bali Tickets with Private Transfers★ 4.5 · 39 reviews
- Snorkeling In Nusa Penida Island With Manta Ray From Bali★ 4.5 · 40 reviews
- 5 Secret Gili Boat Trip & Snorkeling in Southwest Of Lombok★ 4.8 · 42 reviews
- Bali: Watersport Tanjung Benoa Adventure Exclusive★ 4.7 · 42 reviews
- Private Bali Driver with Car – Flexible Full Day Tour★ 5.0 · 44 reviews
- Bali: Uluwatu Kecak Dance Show, Bali Temple, and Lobster Dinner★ 3.5 · 44 reviews
- Traditional Bali Massage Lulur & Spa Treatment 2 Hours★ 5.0 · 47 reviews
Silver Jewelry Classes, compared.
Hands-On Silver Jewelry Making Near Ubud’s Monkey Forest
Read our review →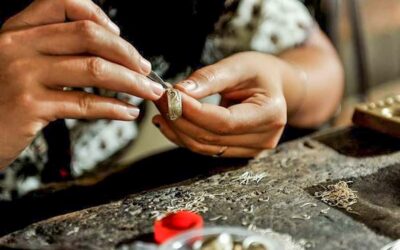
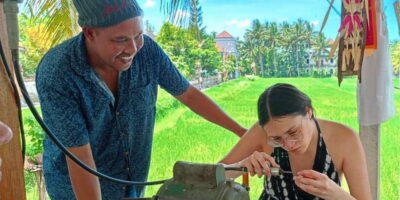
Ubud Silver Artistry Class: Create Unique Jewelry in Bali
Read our review →Browse the lists this tour appears in