
Reviewed · MOUNT RINJANI TREKS
Mount Rinjani Climbing 2D/1N Summit Trek 3726M
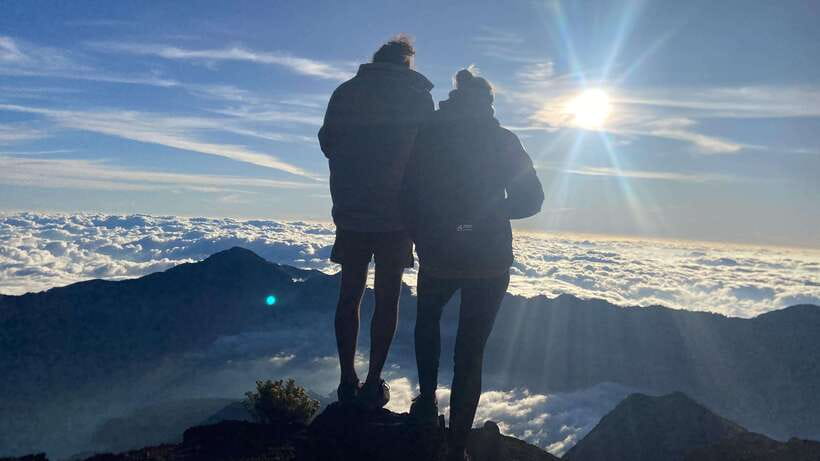
Mount Rinjani is one of those rare trips where the work is obvious, but the reward feels almost unfair, sunrise from the summit and a night camping on the rim with Segara Anak Lake in view. This 2D/1N plan is built around that rhythm: hike up, camp, then go back out before dawn.
I especially like the Sembalun Crater Rim camping, because it turns the night into a real experience, not just a sleep stop. I also like that your team includes an English-speaking guide plus porters, and they handle cooking gear and camping equipment so you can focus on your climb.
The main drawback is that it is genuinely hard. The last hour to the summit is described as very steep and difficult, and temperatures at higher altitude can feel cold, so you need warm clothing and a solid fitness base.
Key highlights to know before you go
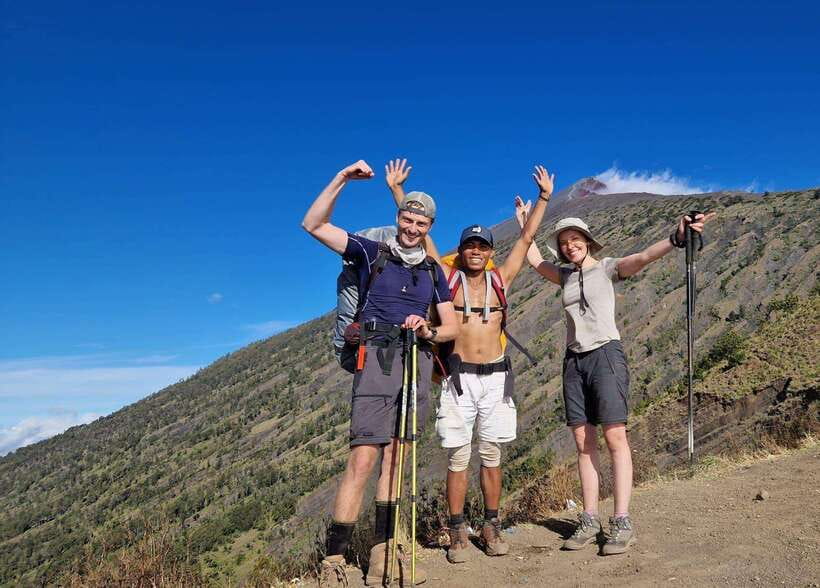
- Sunrise summit timing: wake up around 2:30 AM and start the summit trek at 3:00 AM for the morning light.
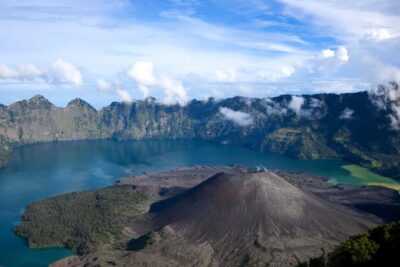
- Sembalun Crater Rim campsite: you camp on the rim and get sunset and sunrise views around Segara Anak Lake.
- Post 1, 2, and 3 breaks: planned rests include a longer break before Post 3 and a hot drink at Post 3 on day 1.
- Porter support that matters: porters carry cooking utensils and camping equipment, plus there is a tent, sleeping bag, and mat for your use.
- Big-scope summit views: from the top you can see Lombok island, Bali, Mt. Tambora in Sumbawa, and the lake.
- Not for everyone: not suitable for kids under 10, pregnant women, people with back problems, or heart problems.
Why This 2D/1N Rinjani Summit Trek Feels Worth It
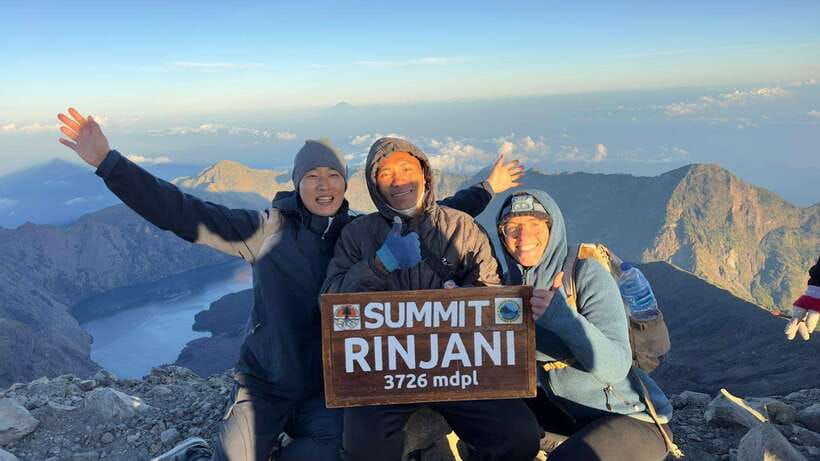
This trek is interesting because it compresses a huge goal into a short timeframe. Two days sounds quick, but the itinerary is paced with rests, food, and a real night on the Sembalun Crater Rim, so you are not just sprinting between checkpoints.
The value is in how much is handled for you. You get experienced guidance, porter muscle for camp logistics, and a full food setup across both days. If you have ever tried to plan a volcano hike yourself, you know how fast that turns into a spreadsheet nightmare. Here, the basics are already covered.
Just be honest with yourself about the effort. This is not a gentle hike. Even with support, you will be moving in stages, and the final climb to the summit is the hardest part.
More Rinjani treks:
- Mount Rinjani Trekking 2D/1N Summit Sunrise & Sunset Views
★ 4.7 · 67 reviews - Mount Rinjani 2 Days 1 Night Senaru Crater Rim
★ 5.0 · 131 reviews - 3D-2N Explore Mount Rinjani – Summit -Lake and Hotspring
★ 5.0 · 112 reviews
From Senaru to the Start: Meeting Your Team and Getting Positioned
Your trip is organized around Senaru Village. There is optional pickup from your hotel around Senaru, then transportation to the starting point.
You will meet for a briefing before the trek starts, so you can get your plan straight: what the posts are, where rests happen, and how the summit push works. That matters because waking up early and starting climbing in the dark can feel confusing if you are not sure what comes next.
A nice practical feature is that you can store what you do not need in the office. That means you should bring only your essential day items on the hike, rather than hauling extra weight the whole time.
Day 1: Sembalun Crater Rim Build-Up Through Posts 1, 2, and 3
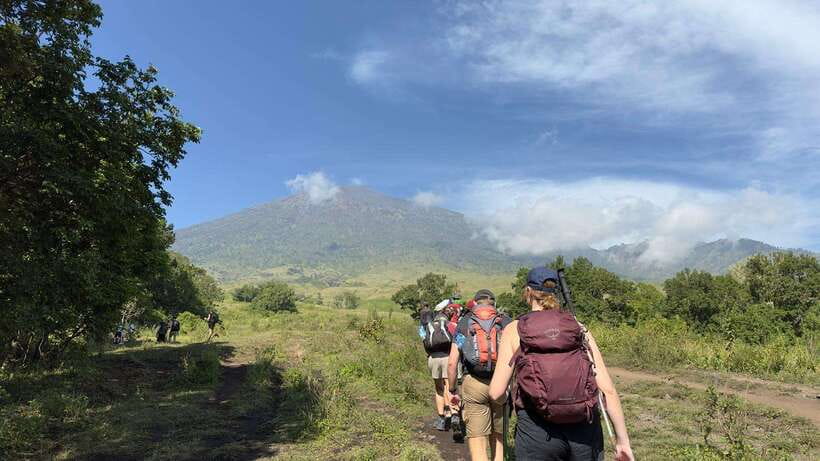
Day 1 starts after breakfast with a mountain car transfer to Sembalun village. Then you arrive at the Rinjani Information Center and begin the hike toward the Sembalun Crater Rim.
From there, the day is structured around three key rest stops, commonly called Post 1, Post 2, and Post 3.
Post 1 and Post 2: steady climbing, controlled breaks
You will stop at Post 1 for a rest, then continue on to Post 2. The pace here is about getting your body into rhythm. Think of this as the part where you learn your own breathing pace, because you will need it later on day 2.
A small but helpful detail: the tour design includes breaks rather than pretending everyone moves at the same speed. You do not need to sprint to keep up, you just need to keep moving.
More Hiking & Trekking in Indonesia:
- Bali: Sunrise Mount Batur Guided Hike with Breakfast
★ 4.8 · 9,660 reviews - Bali: Mount Batur Sunrise Guided Hike and Natural Hot Spring
★ 4.8 · 9,284 reviews - Bali: Mount Batur Sunrise Trek With Guide and Breakfast
★ 4.8 · 3,461 reviews - Mount Batur Sunrise Hike and Natural Hot Spring Option
★ 5.0 · 1,927 reviews
Post 3: the longer reset, plus a hot drink
Before you continue, there is a break before Post 3, including a longer 2-hour rest. After that, you continue onward after lunch.
Post 3 is also where you get a hot drink, which sounds simple, but it can make a real difference when the air is cool and you are accumulating fatigue. It is the kind of comfort that helps you keep energy for the last push to camp.
Camp on the crater rim: sunset views that actually feel like payoff
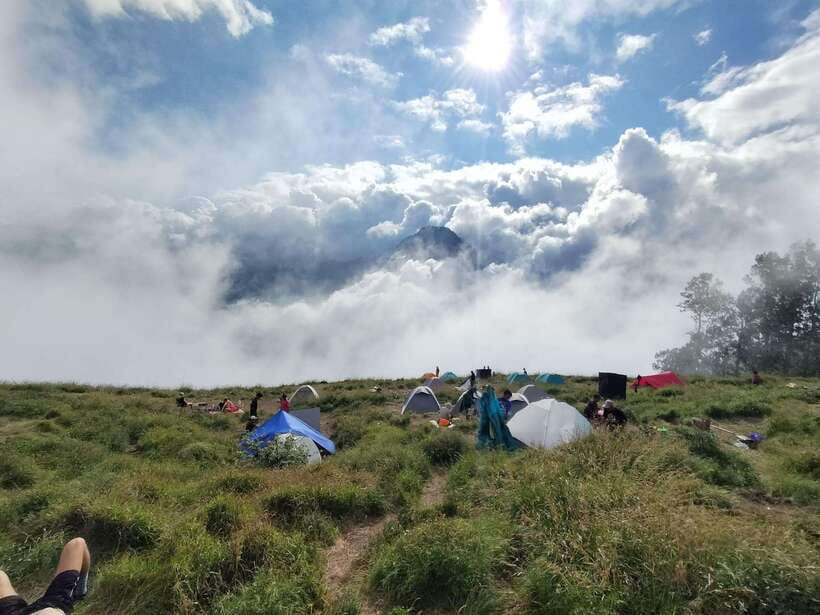
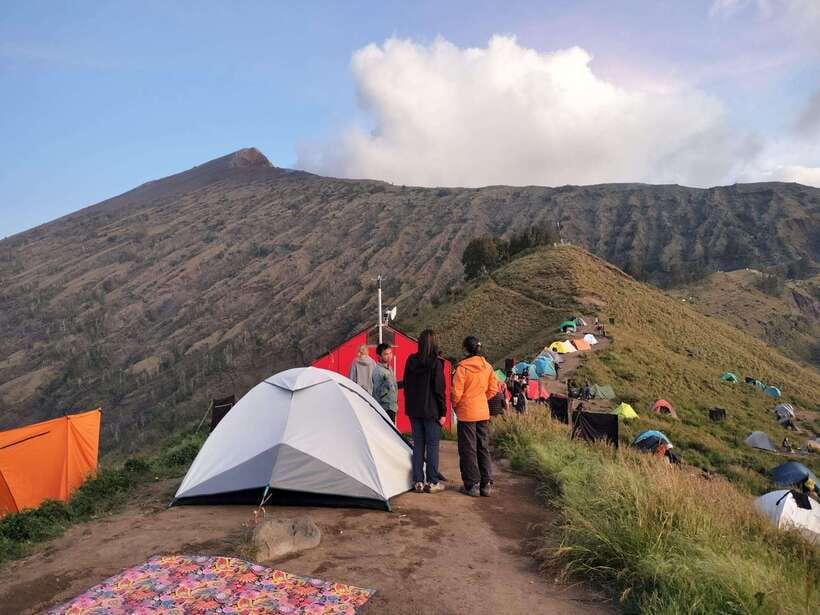
After lunch, you continue to the Sembalun Crater Rim and camp there for the night.
This is one of the best parts of the whole experience. The rim setting gives you views over Segara Anak Lake, Sembalun village, and even the direction of the summit. You can enjoy sunset and later take in the early-morning mood when day 2 begins.
Also, camping setup is included. Your tent, toilet tent, sleeping bag, and sleeping mat are provided. There is even toilet paper included, which is the kind of detail that saves you from carrying extra weight or worrying about basics.
What you explore on day 1
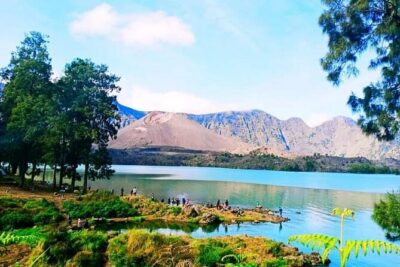
Day 1 is also your time to connect with the area around the lake and village. You get to see Segara Anak Lake and the Sembalun village as part of the day’s experience, not just as distant points on a map.
Day 2: The 2:30 AM Wake-Up and the Summit Climb Pattern
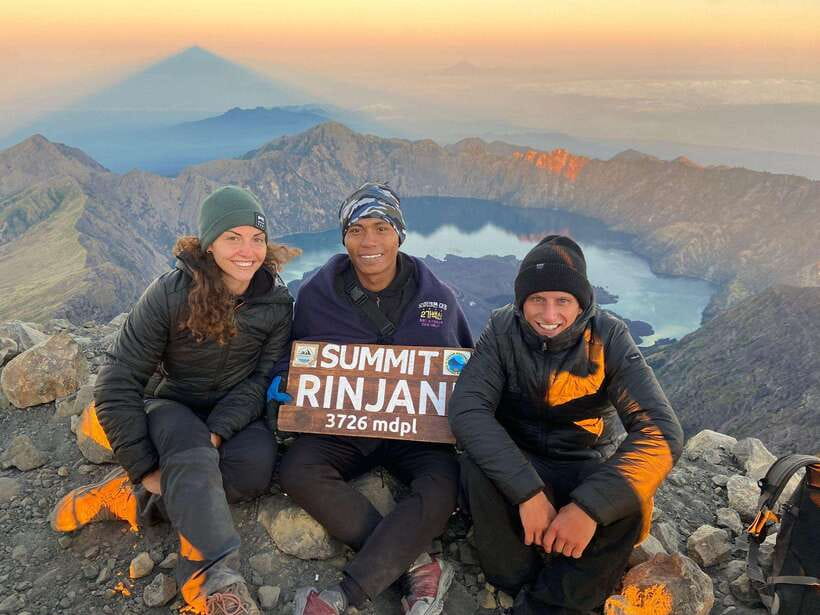
Day 2 begins early. You wake around 2:30 AM and have a light breakfast. Then the summit climb starts at 3:00 AM.
That pre-dawn start is non-negotiable for sunrise timing, so treat it like part of the adventure, not a problem you can solve by sleeping in.
The climb in three stages
The climb is described in stages:
- First stage: a moderate climb for about 2 hours.
- Second stage: fairly easy but long.
- Last hour: very steep and difficult.
That last hour is the one that gets people, not because the entire route is impossible, but because your legs are already tired and the slope gets serious. If you tend to rush early, you will feel it late.
A good strategy is to keep your pace controlled through the long second stage. Save your energy for the steep final hour, where you will need steady footwork and the ability to keep moving even when it feels slow.
Summit views: broad and specific
From the summit, you are set up for big visibility. You can see Lombok island, Bali, Mt. Tambora in Sumbawa, and Segara Anak Lake.
What makes this feel special is that the views are not just one direction. You are seeing multiple islands and the lake system tied to the volcanic setting. Even if you do not know the geography, you will feel how open the horizon looks.
After sunrise: breakfast on the rim and the long descent
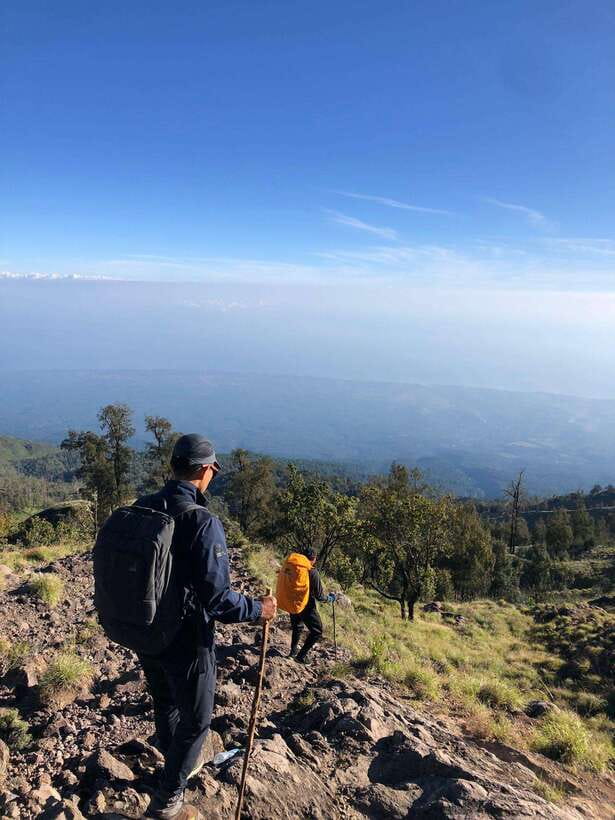
After sunrise, you go down to the Sembalun Crater Rim for breakfast and rest.
Then you continue down to Sembalun village. The descent is about 4 to 5 hours. Lunch is available in Post 3 or Post 2, and the route typically gets you back to Sembalun village around noon.
This means the day is still active after the summit. The goal is not only to reach the top, it is to come down safely with enough fuel in your body to enjoy the end of the trek.
Sunrise on Mount Rinjani: What You’re Really Buying With the Early Start
The headline is sunrise from the summit, and that is real. But the value is in why sunrise is worth the suffering.
First, the pre-dawn timing lets you climb when conditions are often better for visibility and footing than the hotter daytime hours. Second, sunrise brings a clear pay-off to the climb, especially after you spend the previous day camping at the rim.
You should also expect cold conditions. The higher you go, the more you will feel it, especially around sunrise. Warm clothing is listed as something you must bring, and I agree with that. If you treat this as just a sunrise photo, you will feel miserable. If you treat it like a cold-weather hike, you will be happier and more comfortable.
Food, Water, and Porter Support: The Practical Stuff That Makes or Breaks Volcano Days
A lot of climbs are tough because you are carrying too much and thinking too much. Here, the support is designed to reduce both.
Meals and water
You get 3 meals a day, plus tea and coffee. There is also fruit like pineapple and banana included, and you will have drinking water provided at a stated rate of 3 liters of mineral water per day per person.
On day 1, Post 3 includes a hot drink, which is a great morale boost when your body needs warmth.
What porters actually handle
This is one of the points I’d underline if you hate unnecessary stress. Porters carry cooking utensils and camping equipment. That means your job is basically your hike and your essential personal items.
You also get camping gear support, including a tent, sleeping bag, sleeping mat, and a toilet tent with toilet paper. It is the difference between camping that feels manageable and camping that becomes another physical chore.
What you still must bring
The “you” part is still important.
Bring:
- Warm clothing
- Hiking shoes
- Camera
- Snacks (recommended)
- Water (you can add to what is provided)
Not allowed: smoking.
If you forget the warm layer, you will pay for it when you are standing still before sunrise. The climb itself is one thing, but the wait time can chill you fast.
Price and Value: What $133 Really Covers, and What You’ll Pay Elsewhere
At $133 per person for a 2-day, 1-night summit trek, the price feels reasonable when you look at what is included.
You are not just paying for a guide. You are also paying for:
- English-speaking guide and professional porters
- meals across both days
- camping gear like tent, sleeping bag, and mat
- cooking gear support
- tea, coffee, and a hot drink at Post 3
- mineral water supply at 3 liters per day per person
- storage for your extra backpack items at the office
- pickup around Senaru and transportation to the starting point
- trekking insurance
So where does it fall short? The big extras are not covered:
- National Park entry ticket for Rinjani National Park
- one night accommodation before the tour starts
- trekking shoes, trekking poles, headgear, and jackets (warm clothes are on your list to bring)
- extra snacks or extra food beyond what is provided
- guide and porter tips (explicitly mentioned as an extra)
- optional personal items like a GoPro
- and there can be extra payments related to certain areas like Kuta Lombok and Tete Batu, plus airport related costs (these are listed as extra payments, so ask your operator for your exact total)
Bottom line: this price looks like solid value if you show up ready to hike and you plan for park fees and your own gear. If you need to rent or buy everything, your total cost goes up.
Who This Trek Fits Best, and Who Should Skip It
This is a challenging trek, and that is reflected in who it is not suitable for:
- children under 10
- pregnant women
- people with back problems
- people with heart problems
If any of those apply, you should not push the decision. A steep volcano climb is not the place to “see how it goes.”
Who it fits best:
- adults in decent shape who can handle early mornings
- people who want structured breaks at posts and proper camping setup
- hikers who want sunrise views with a guide and support staff rather than going solo
If you are new to trekking, you might still manage it if you have good stamina, but take it seriously. The final hour is steep and difficult, and that is not negotiable.
Practical Tips So You Don’t Lose Time (or Your Temper) on the Climb
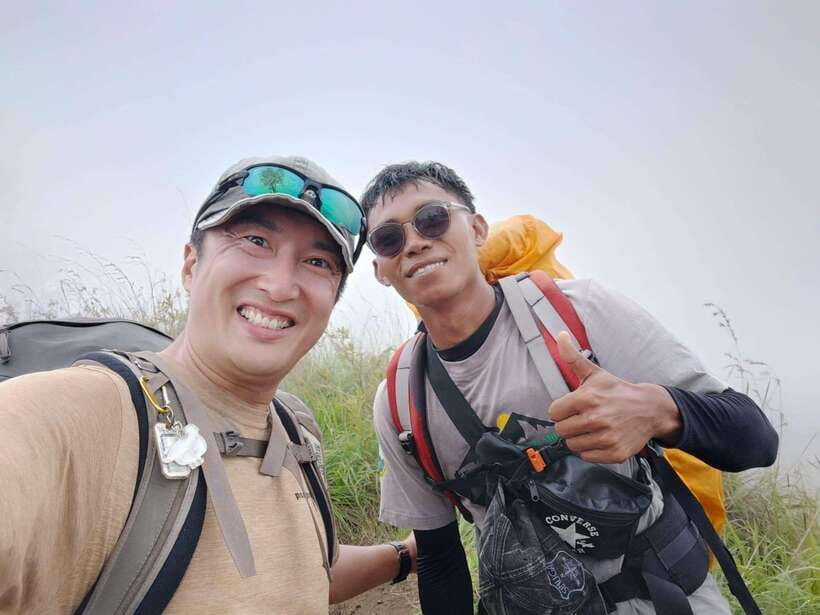
You cannot control the weather. You can control your approach.
- Start slow on day 2. The first 2 hours are “moderate,” then it becomes long. Save effort so the last hour does not crush you.
- Dress for cold, not just “cool.” Warm clothing is listed for a reason, and you will notice it most around sunrise and during breaks.
- Bring some snacks even though meals are included. It gives you something familiar during longer stretches.
- Keep water awareness in mind. You get 3 liters mineral water per day per person, but it’s still smart to sip consistently, not guzzle at once.
- Use your head for the steep final hour. Short, steady steps are your friend. Rushing is what leads to tired lungs and shaky footing.
- Follow guide instructions. Smoking is not allowed, and the route guidance is part of keeping the day smooth.
This is also where a good guide and porter team pays off. When they are organized, the whole day feels less chaotic, more like a guided plan you can follow.
Should You Book This Mount Rinjani 2D/1N Summit Trek?
If your top goal is sunrise from the summit and you want a supported trek with Sembalun Crater Rim camping, I think this is a strong choice. The included staff support, camping gear, meals, and water reduce a lot of the stress that often ruins volcano plans.
I would not book it if you are worried about the physical difficulty. The last hour is very steep and difficult, the wake-up is around 2:30 AM, and cold conditions are expected at altitude. Also, factor in the extras you’ll still need to pay for, especially the National Park entry ticket and your own trekking footwear and warm layers.
If you are ready for a real climb and you like the idea of a structured route with proper breaks, this one is worth your time.
FAQ
Where do the trek and briefing start, and where do you end?
The briefing and meeting happen at a meeting point, and the activity ends back at the meeting point.
Do I get picked up from Senaru?
Pickup is optional, and the driver will bring your name on paper to make sure you are in the right group. There is also transportation to the starting point.
How long is the trek?
The trek duration is 2 days (including the 1 night camping).
What time does the summit climb begin on day 2?
You wake up at about 2:30 AM for a light breakfast and start the summit trek at 3:00 AM.
Where do you camp overnight?
You camp at Sembalun Crater Rim.
Is park entry included?
No. The entry ticket for Rinjani National Park is not included.
How much water do you provide?
The tour provides 3 liters of mineral water per day per person.
What meals are included?
You get 3 meals a day, plus tea and coffee. Fruit like pineapple and banana is also included. There is also a hot drink at Post 3 on the first day.
What should I bring, and what is not provided?
Bring warm clothing, hiking shoes, camera, snacks, and water. Trekking shoes, trekking poles, headgear, and jackets are not included. Smoking is not allowed.
Can I cancel for a refund?
Yes. You can cancel up to 24 hours in advance for a full refund.
Newest reviews out of Indonesia
- Lombok:Privat Snorkeling Gili Nanggu,Gili Sudak,Gili Kedis.★ 4.9 · 43 reviews
- Canggu Surf School Bali★ 5.0 · 43 reviews
- Malang: 3D2N Tumpak Sewu Bromo Ijen Bali in one go!★ 4.6 · 49 reviews
- Mount Rinjani Trekking 2D/1N Summit Sunrise & Sunset Views★ 4.7 · 67 reviews
- Private Bromo Tour start from Malang – 1D★ 4.9 · 69 reviews
- Ubud: Waterfalls, Temple, and Rice Terrace Private Day Tour★ 4.7 · 69 reviews
- Ubud Town Center Silver Class – Silver Jewelry Making Class★ 4.9 · 138 reviews
- Lombok: Gili Nanggu, Sudak, & Gili Kedis Private Snorkeling★ 4.9 · 161 reviews
Mount Rinjani Treks, compared.
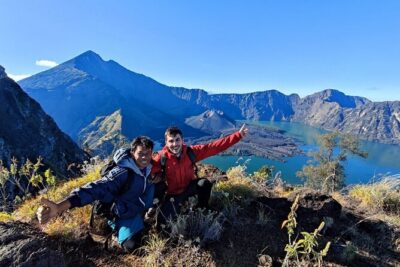
3D-2N Explore Mount Rinjani – Summit -Lake and Hotspring
Read our review →
Mount Rinjani Trek 3D-2N To Summit – Lake – Hotspring
Read our review →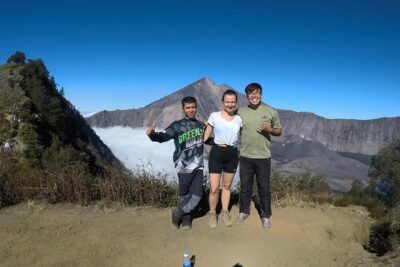
3D/2N Rinjani trekking summit,lake and hot springs.
Read our review →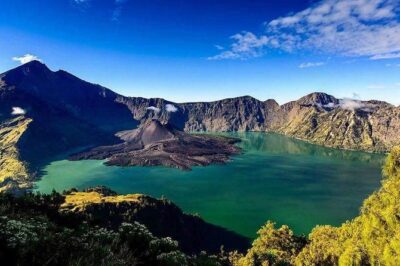
Mt Rinjani Trekking 2 Days 1 Night (Senaru Crater Rim)
Read our review →
Rinjani Trekking 3 Days 2 Nights (Sembalun – Senaru)
Read our review →Browse the lists this tour appears in